3. Single Sign On
LUCA has an SSO based on the open source tool Keycloak, internally named LUCA Accounts. Keycloak manages authentication, authorization, and users, and allows LUCA to integrate with LDAP, Kerberos, Active Directory, or other providers like Google or Microsoft.
Keycloak is organized around realms: independent configuration units that group users, integrations with external systems, and clients. LUCA Accounts operates with two realms: master and luca-bds. The former solely holds the administrator user of LUCA Accounts; the latter concentrates the rest of the elements: LUCA users, integrations with LDAP, clients, etc.
Access to LUCA Accounts
Access to the management of the SSO is done via the web by adding the path /auth/ at the end of the LUCA URL, for example https://luca.luca-bds.com/auth. The resulting page provides direct access to the LUCA Accounts administration console, where the administrator credentials must be entered.
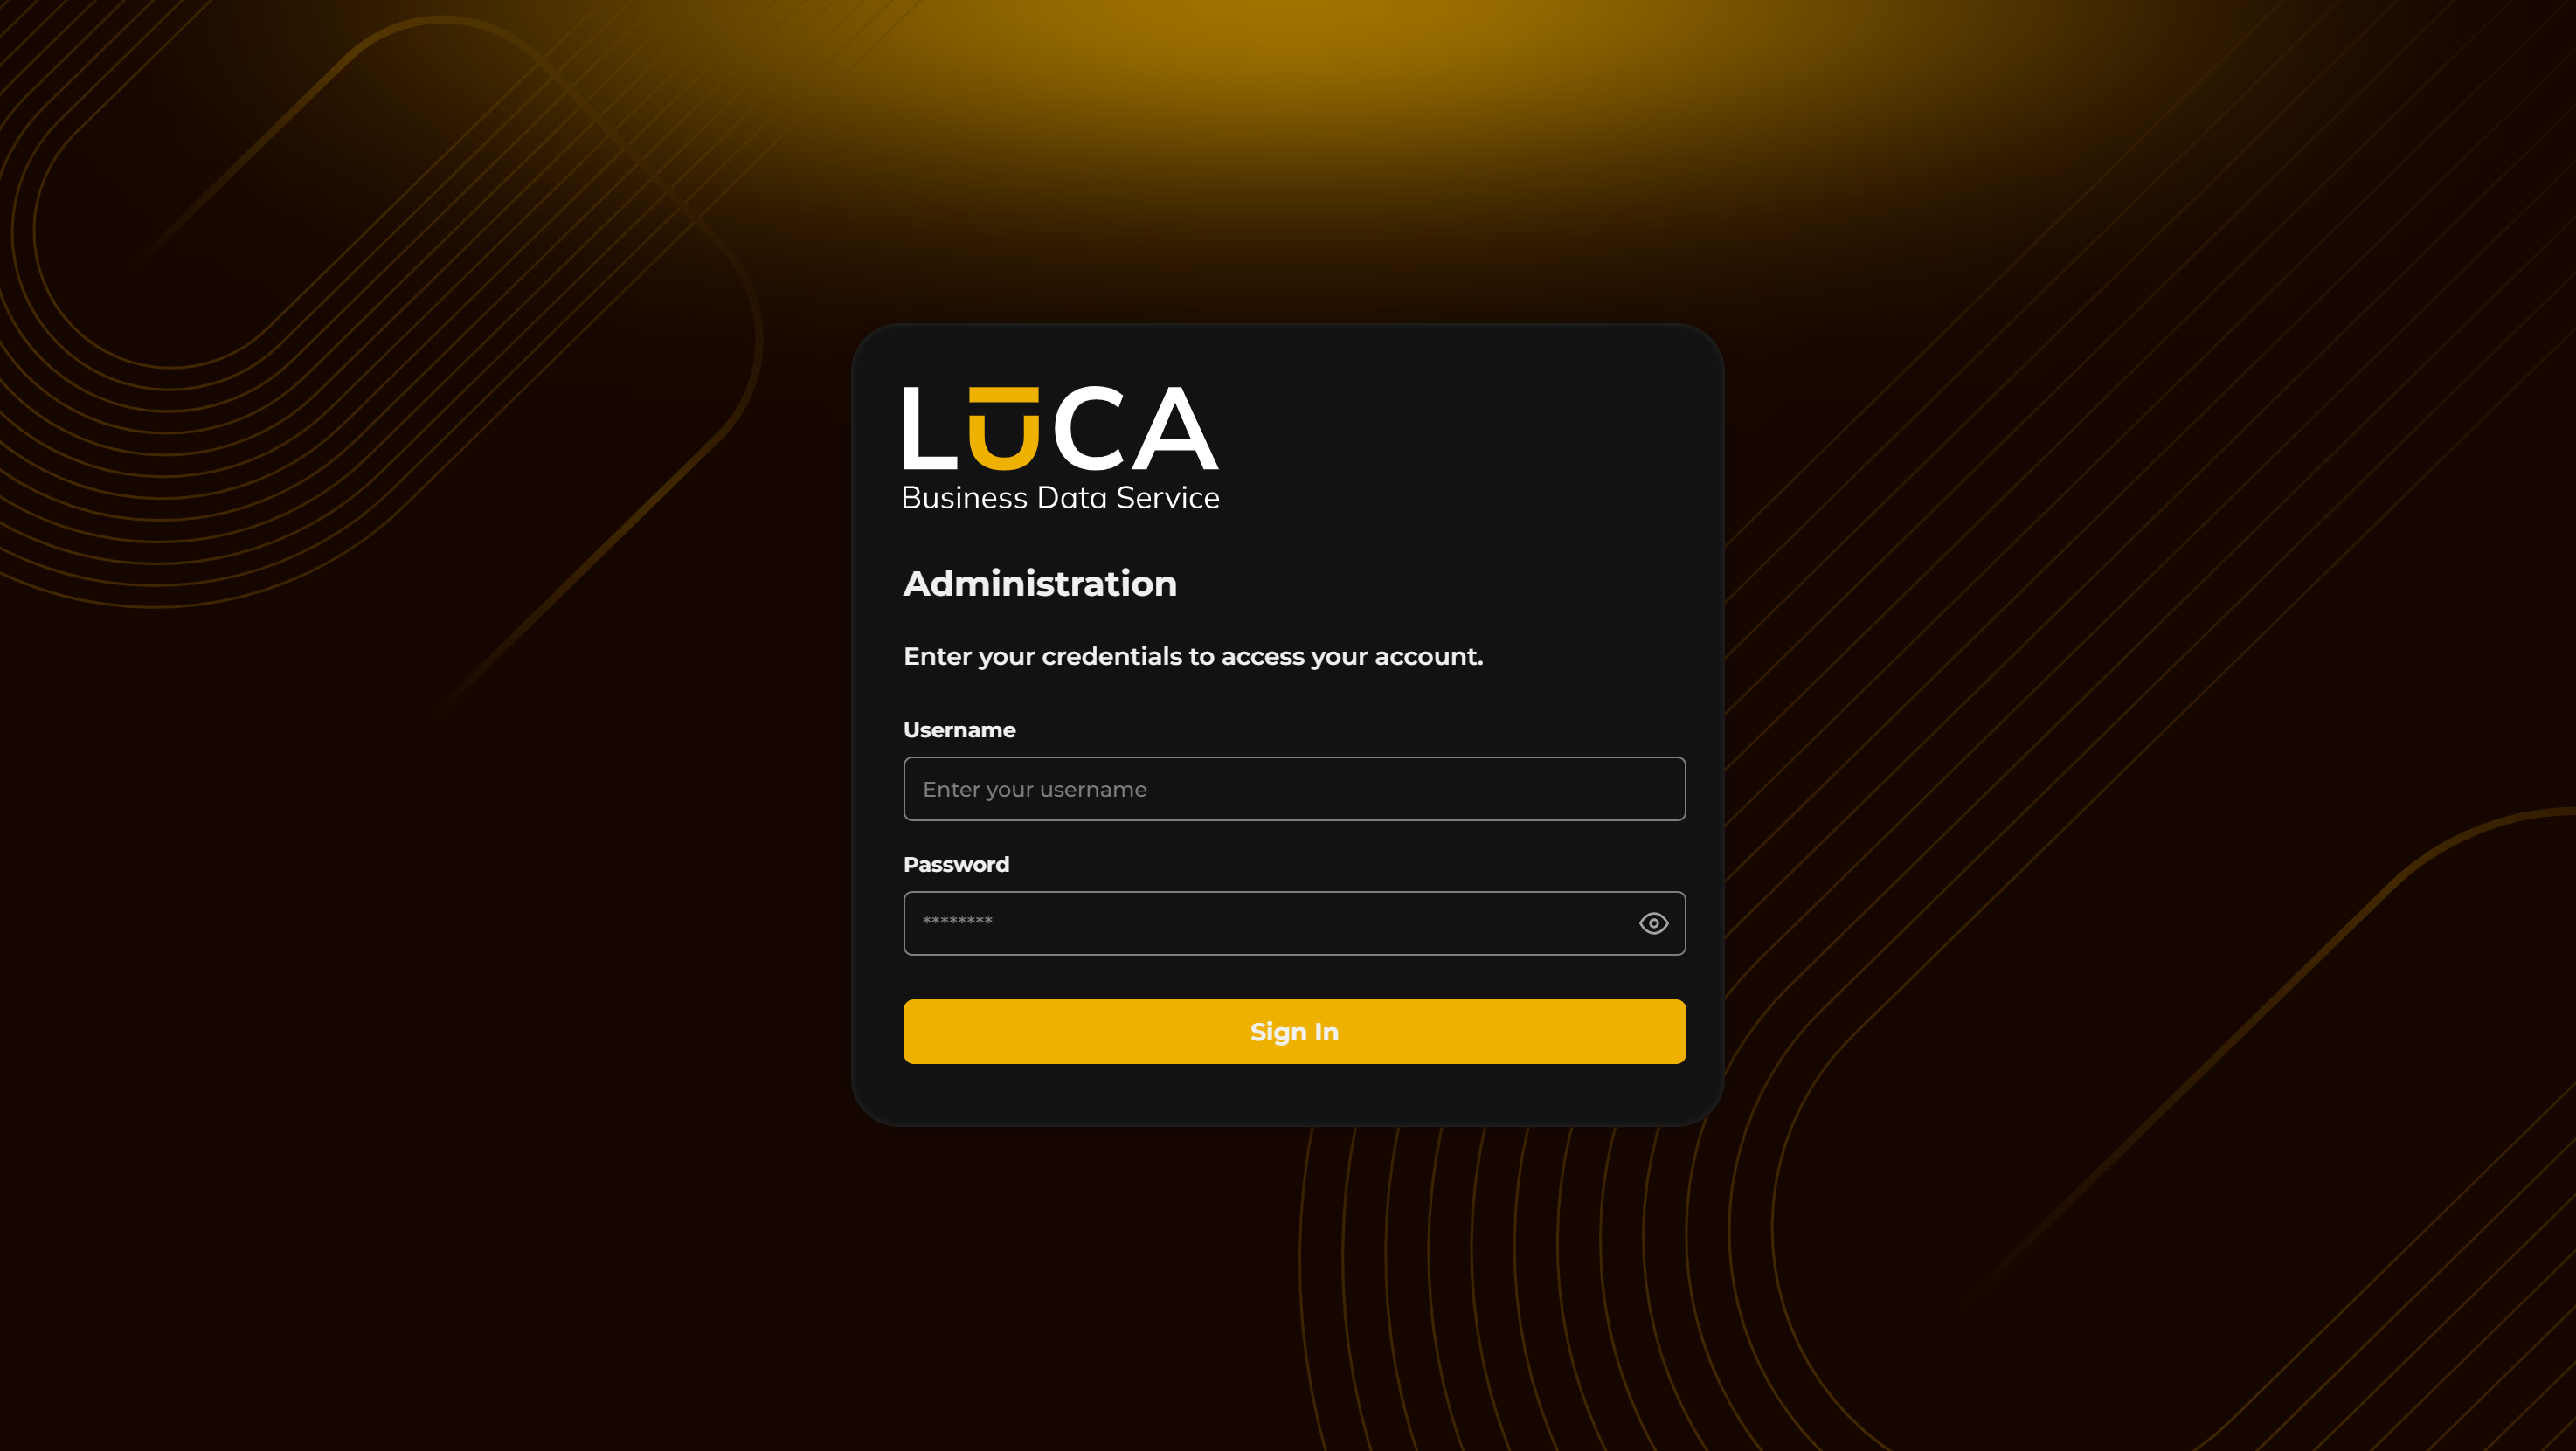
Figure 3.1: LUCA Accounts administration login
The Keycloak web page has the following structure:
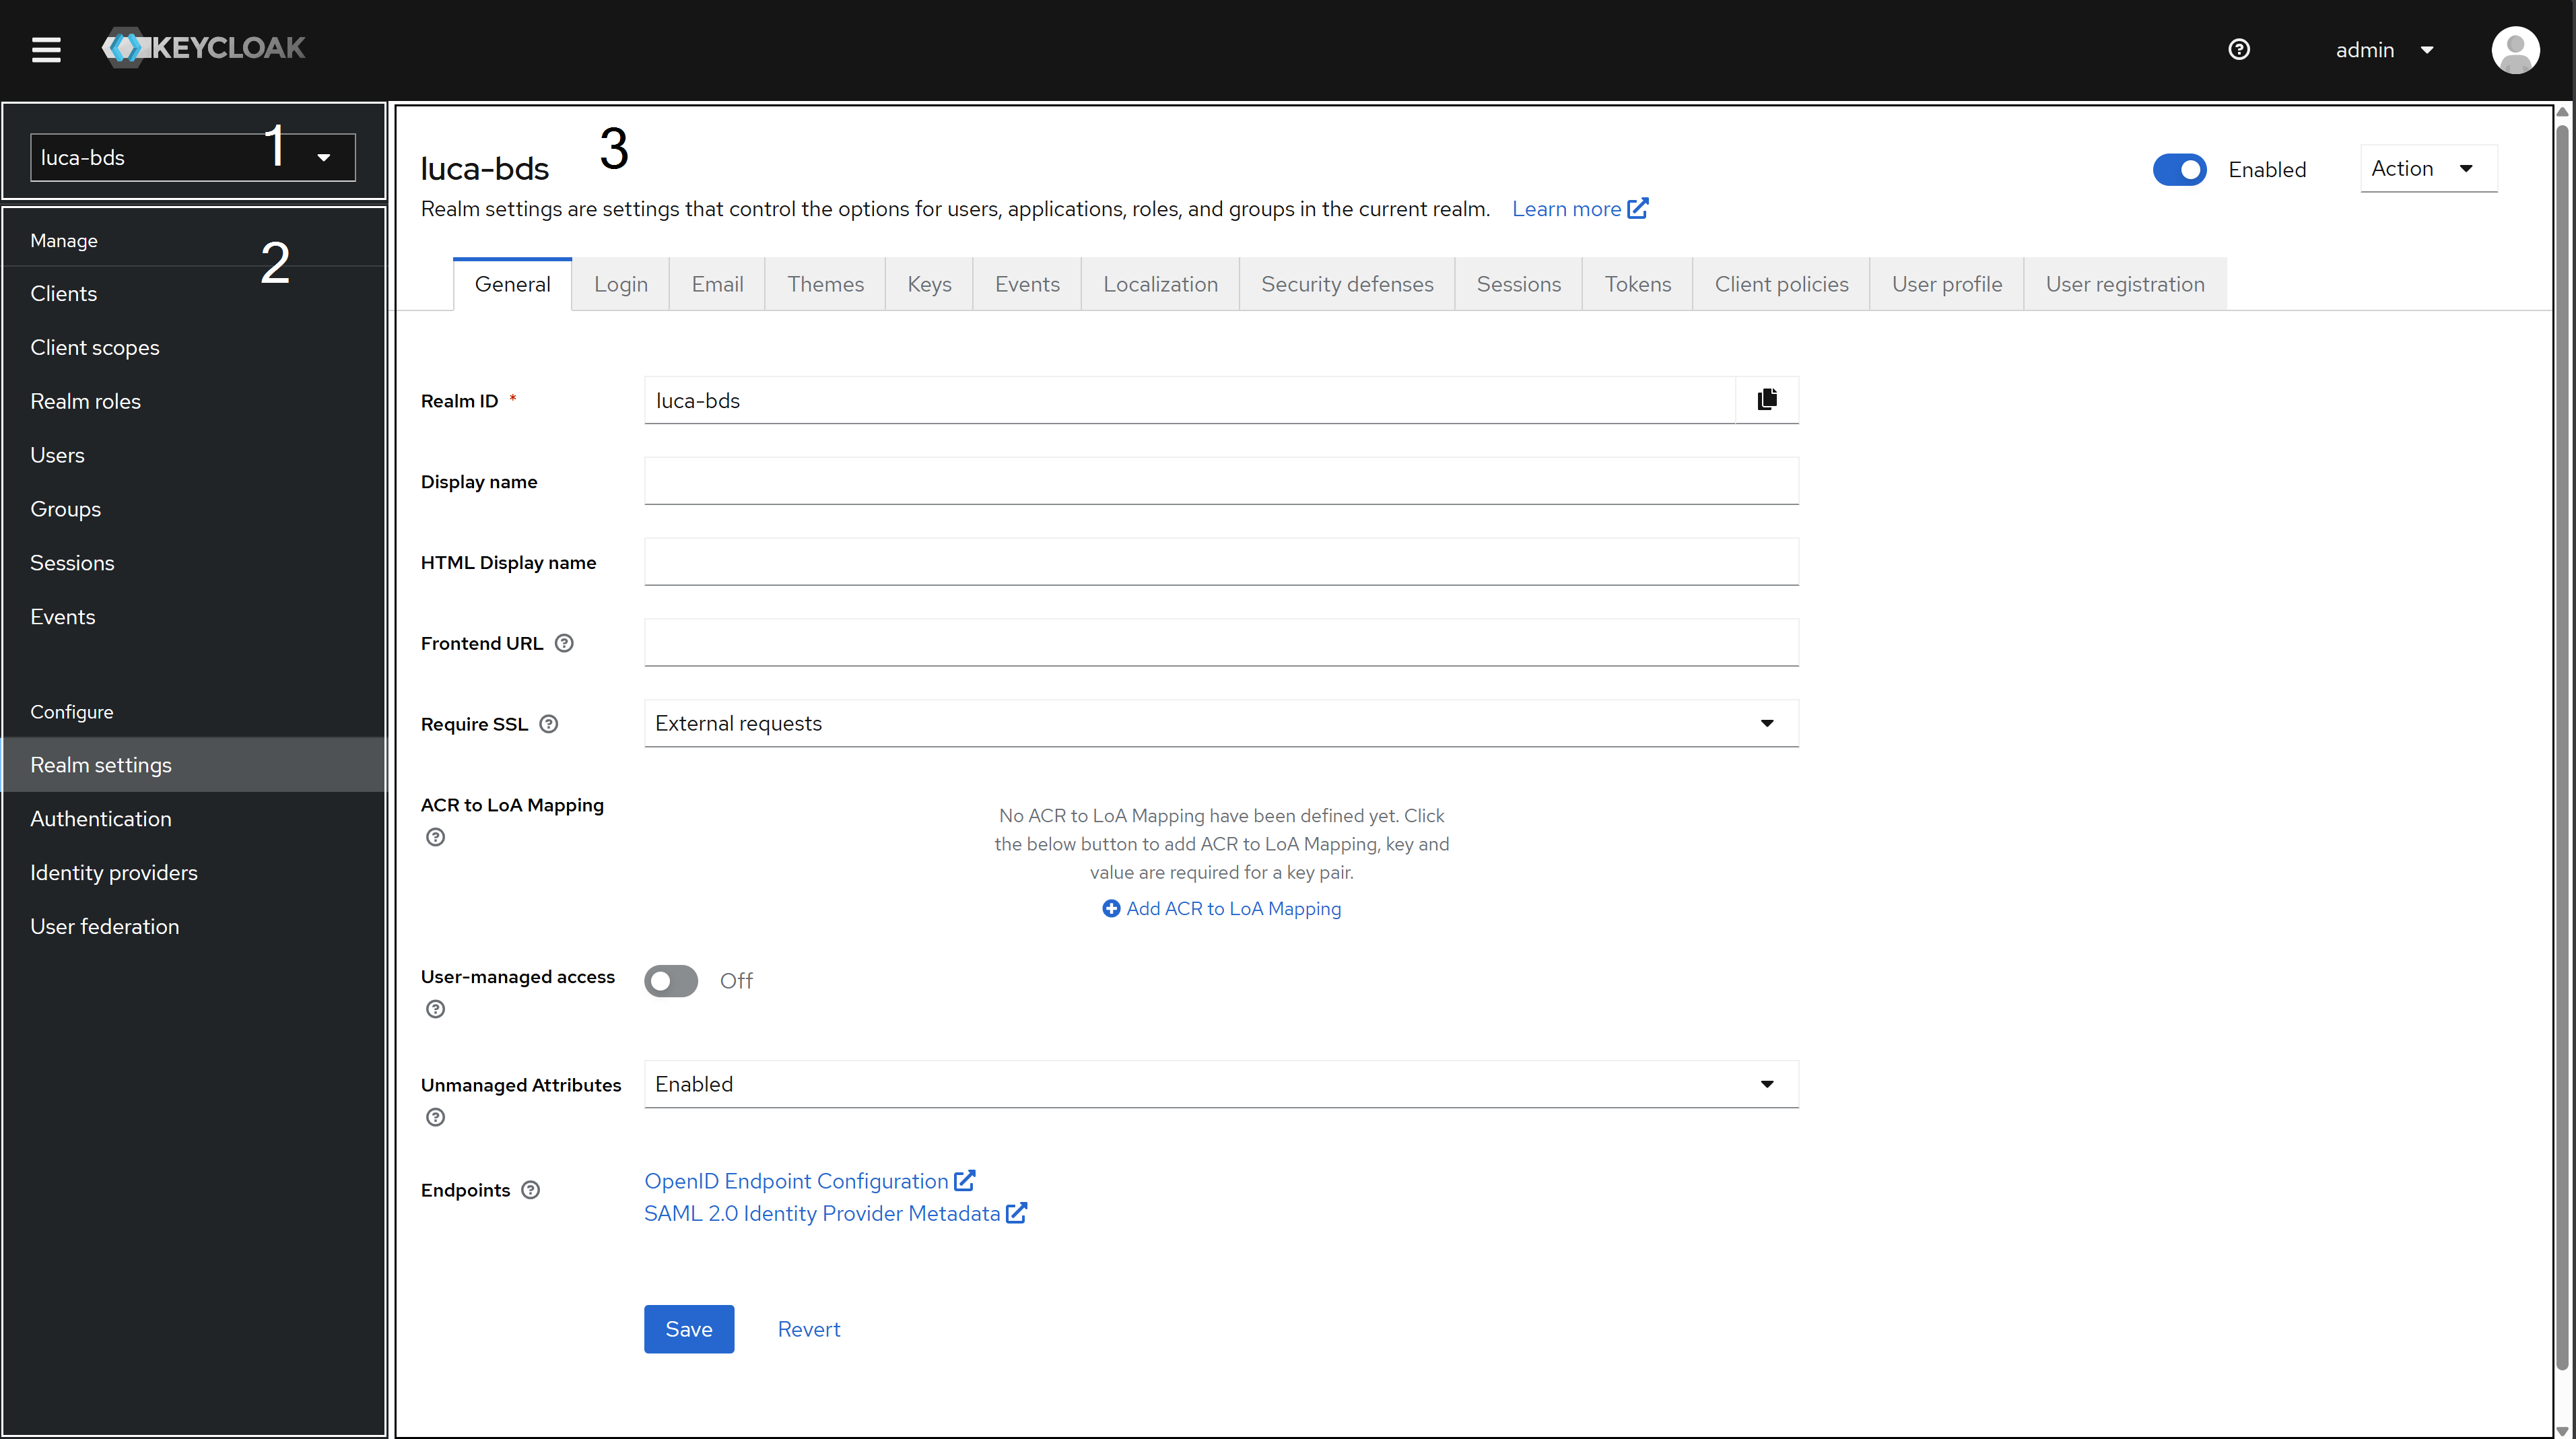 Figure 3.2: Keycloak Web
Realm Selector (1): Dropdown to switch between realms and access the specific configuration of each one.
Side Menu (2): Fixed left panel that remains throughout navigation. It includes all configurable elements in the active realm.
Configuration (3): Central area where tabs and forms corresponding to the item selected in the side menu are displayed. The image shows the general view of the realm.
Any modification to Keycloak’s configuration that is not documented in this manual may affect the operation of LUCA.
Users
LUCA users are also users of Keycloak. When a user is created from LUCA, it is automatically registered in Keycloak without needing any additional action. Conversely, a user registered directly in Keycloak will appear in the LUCA administration area after completing their first login.
Users from the master realm are independent of those from the luca-bds realm.
To manage realm users, access Users in the side menu and select the desired user from the list.
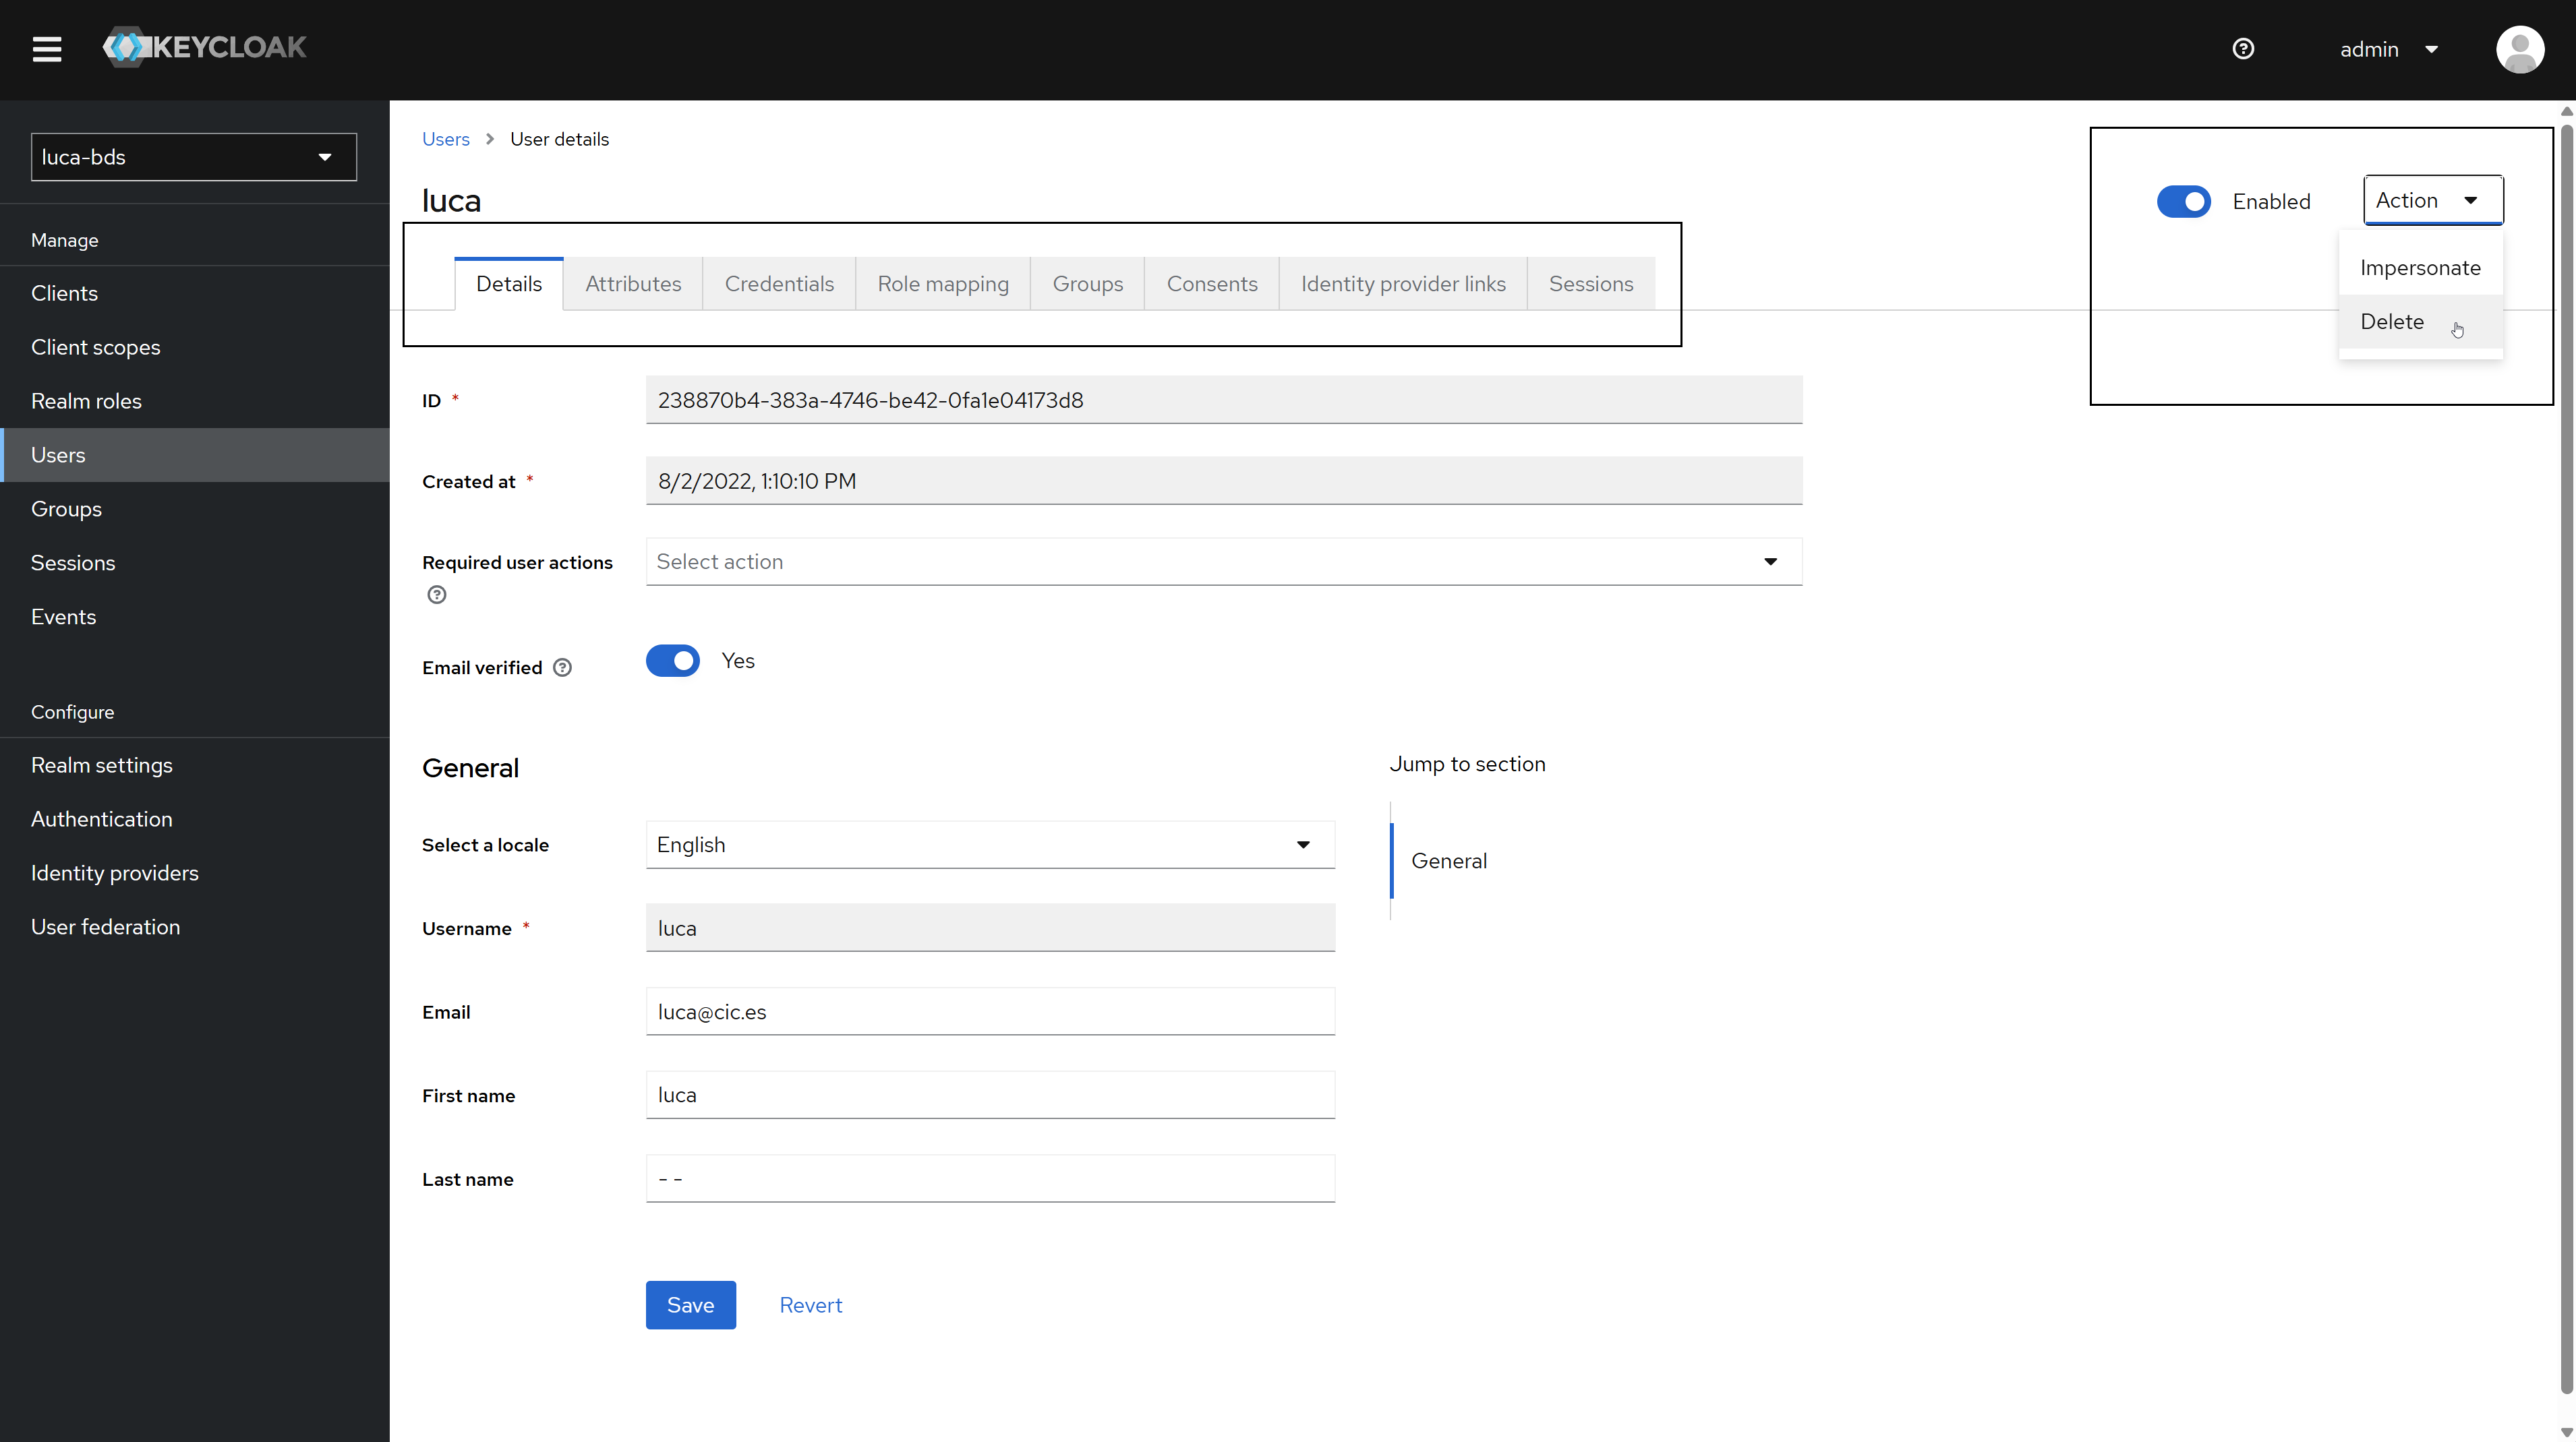 Figure 3.3: User view
For each user, the following options are available:
Edit: Opens the user edit form, where their email, name, surname, password, and other properties can be modified.
Impersonate: Logs in as the selected user. Useful for verifying in situ that the permissions configured in LUCA work correctly.
Delete: Removes the user from Keycloak. This does not affect their registration in LUCA.
Change User Passwords
In the user editing window, access the Credentials tab. Click the Reset Password button to display the Password and Confirm Password fields. The Temporary option forces the user to set a new password on their next login. Confirm the changes by clicking Save.
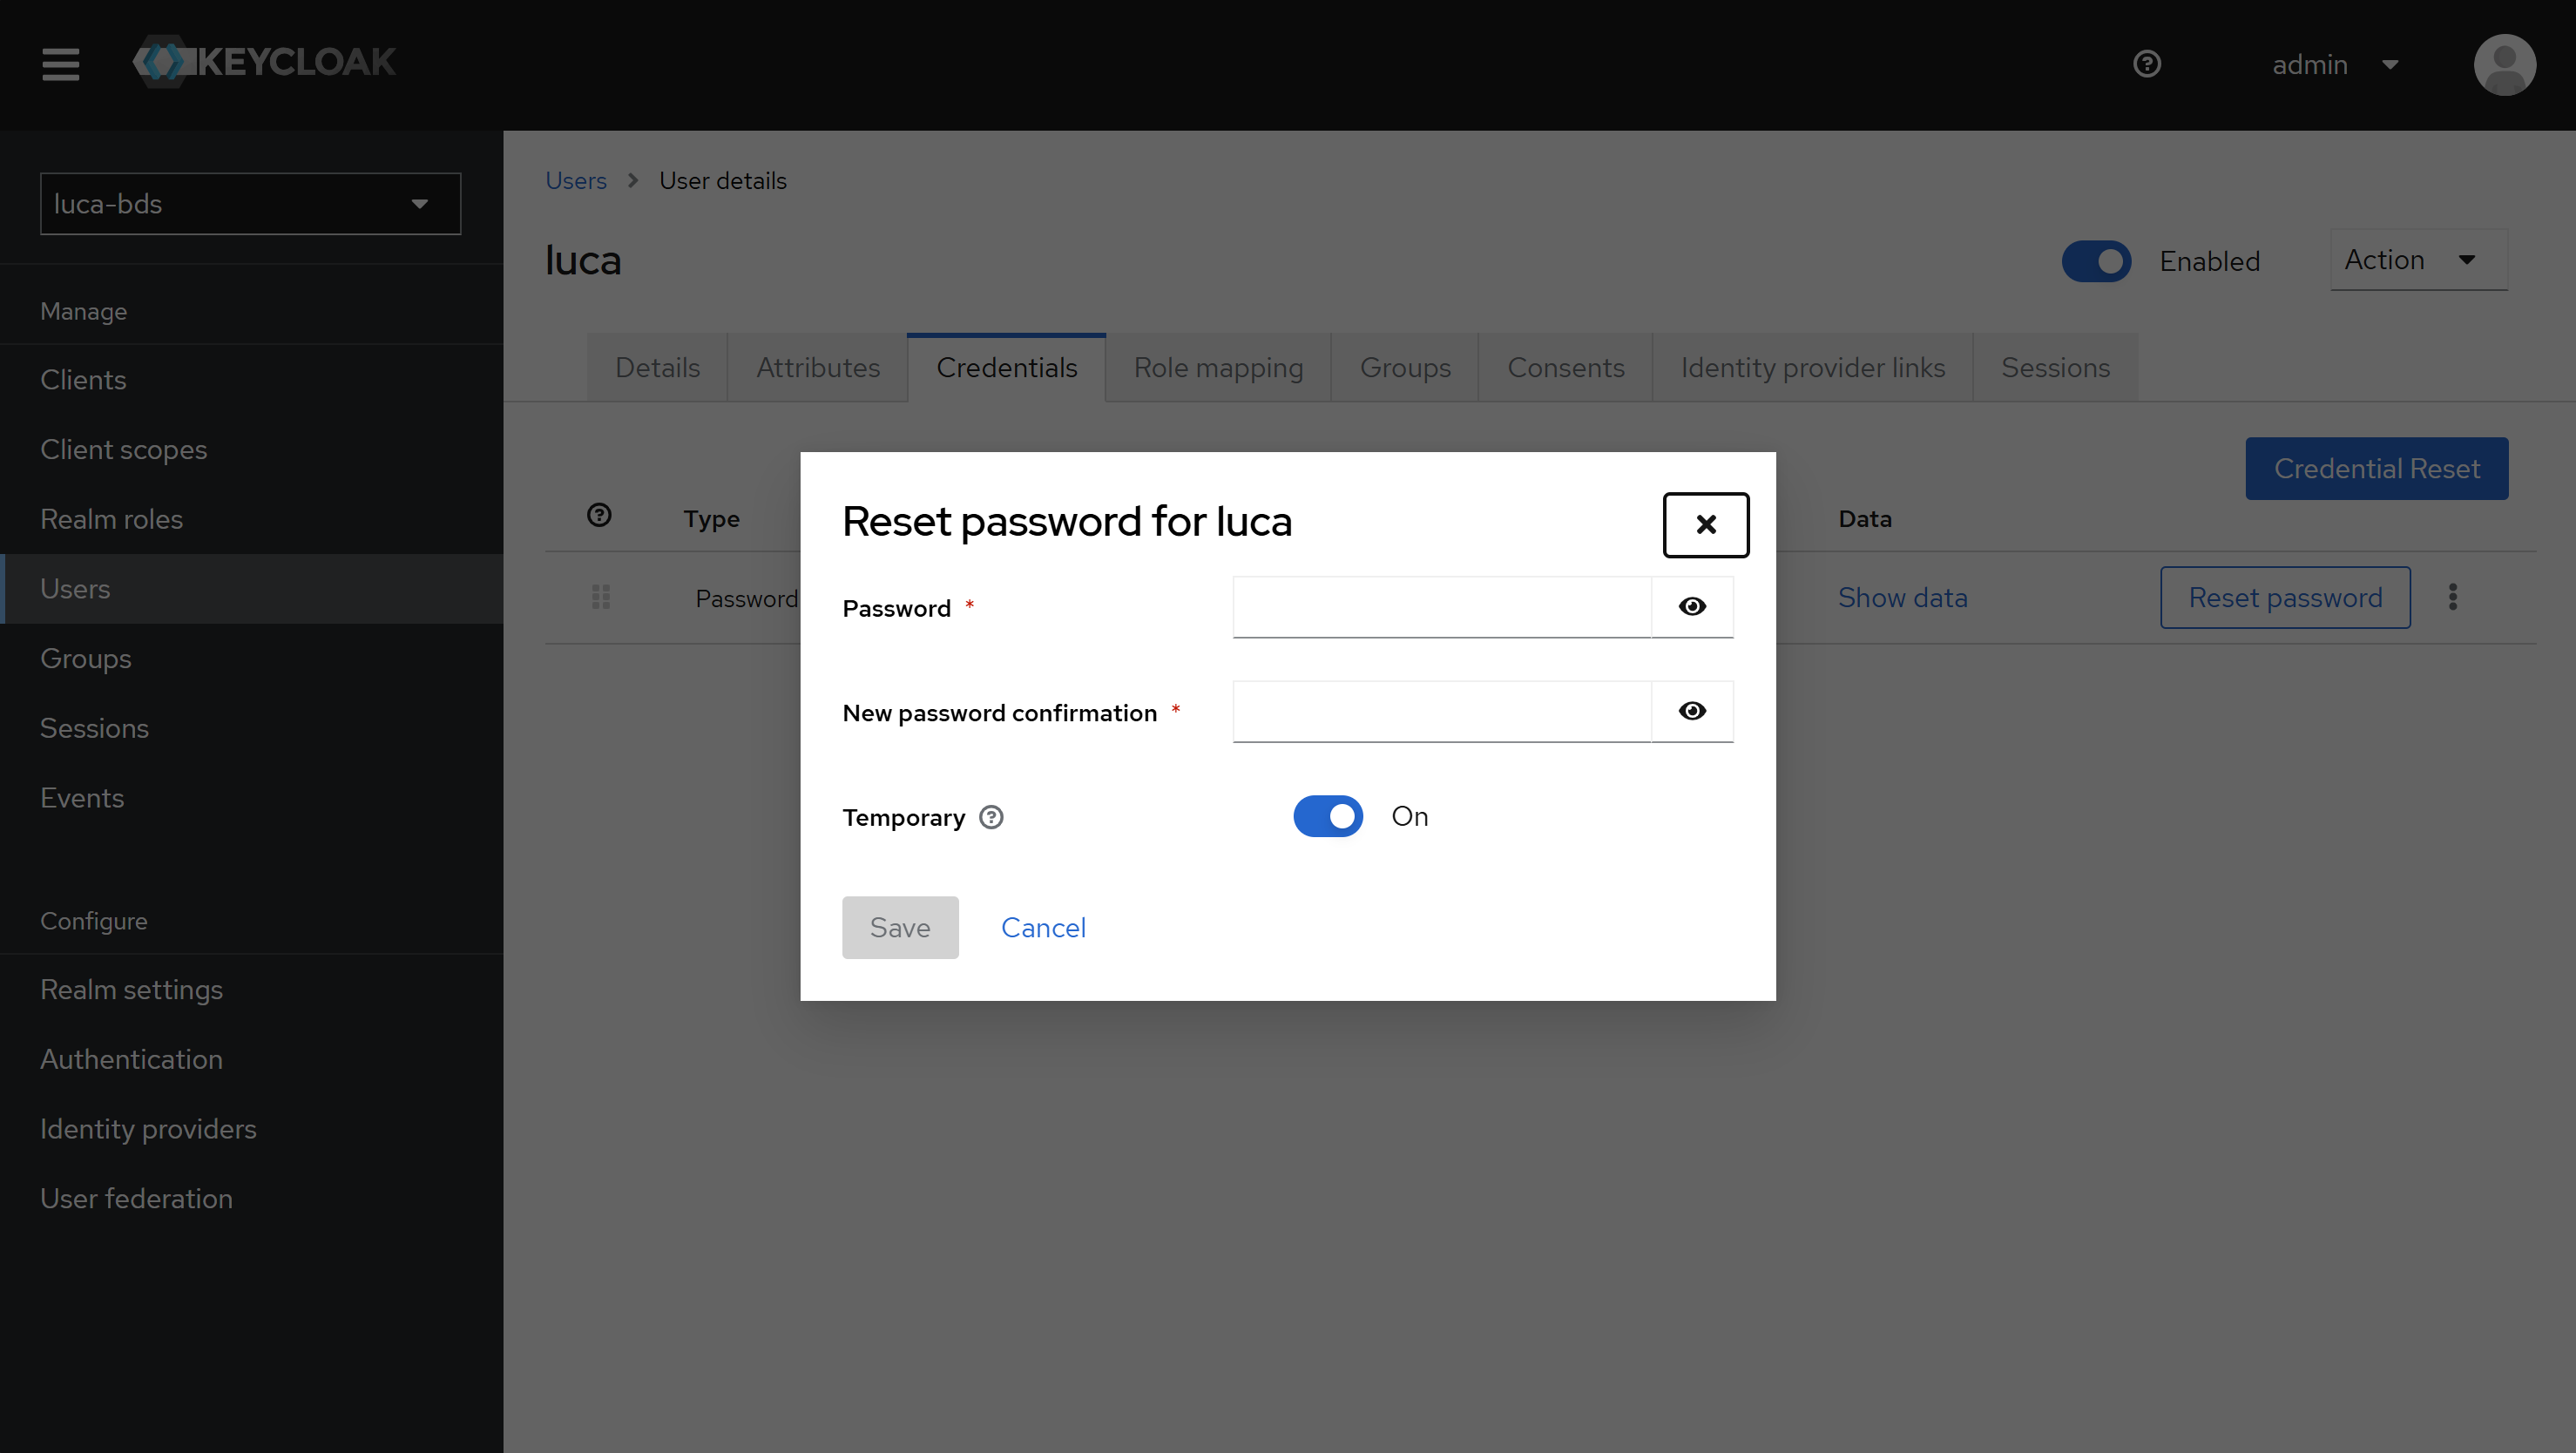 Figure 3.4: Change a user's password
User passwords can only be changed from Keycloak. From LUCA, it is only possible to change the password of the logged-in user.
Password Policy
Keycloak allows defining a common password policy for all users. For example, it is possible to require a minimum of 10 characters with at least one uppercase and one lowercase letter. To access this configuration, navigate to Authentication in the side menu and select Password Policy.
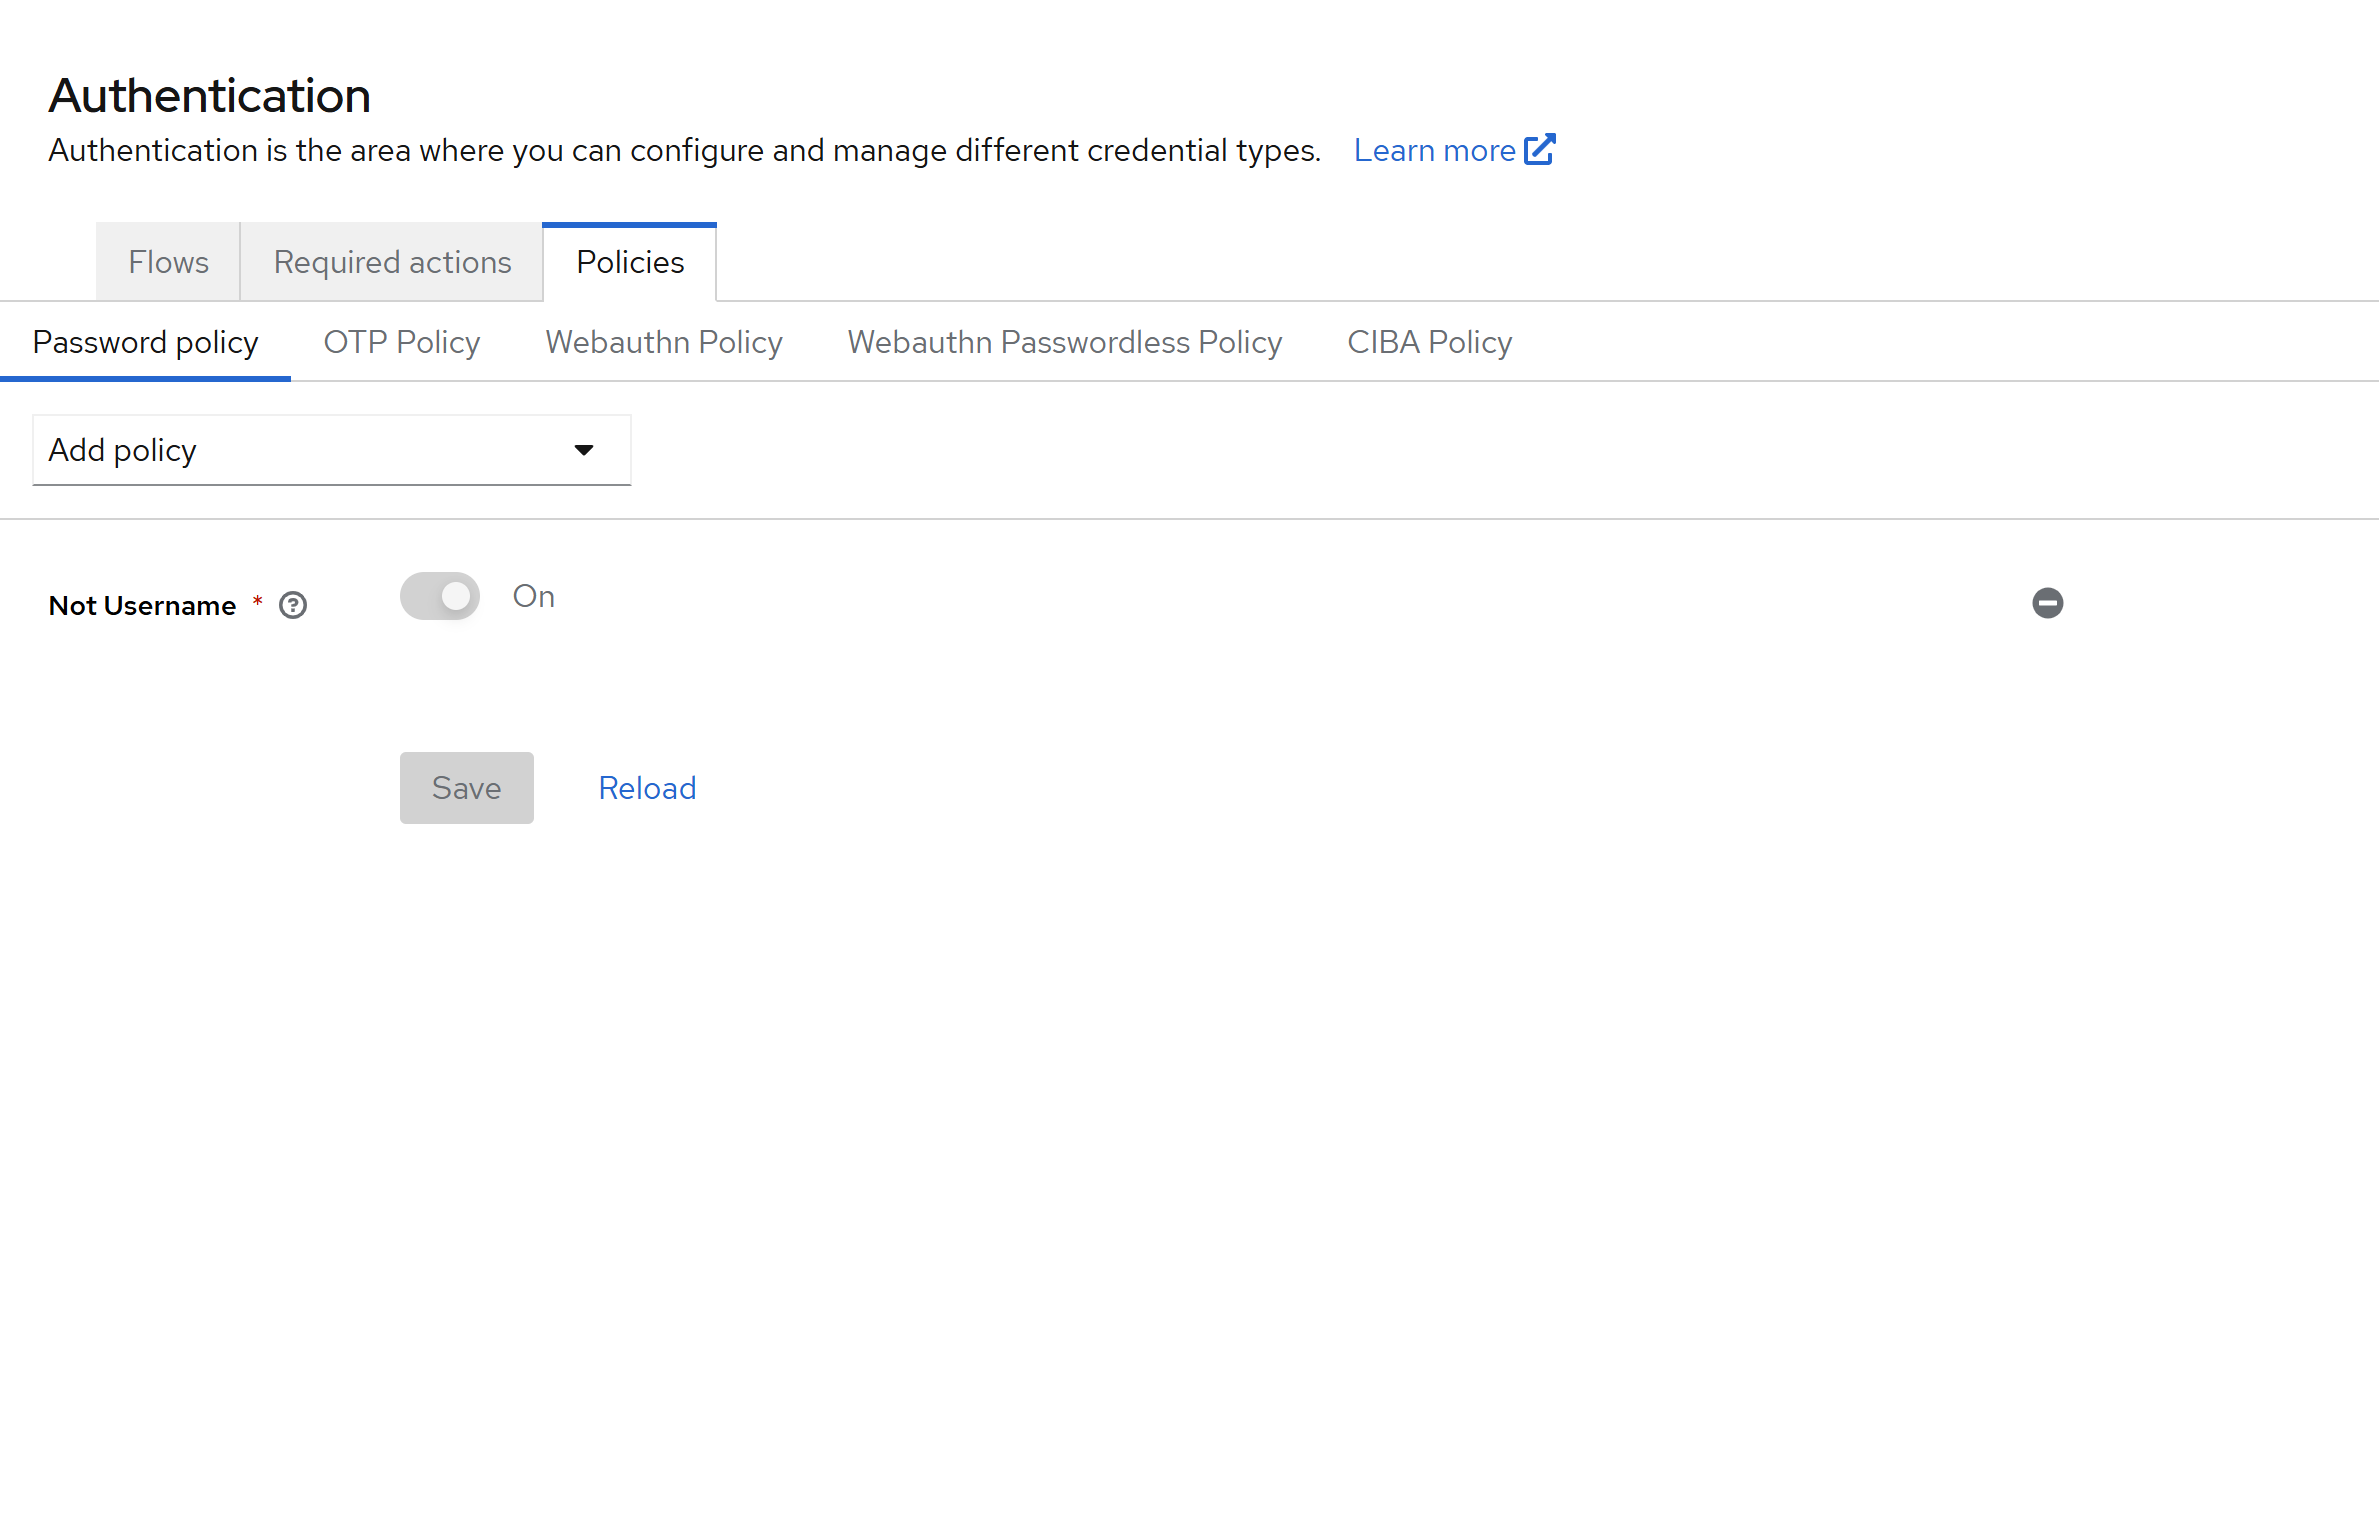 Figure 3.5: Password Policy
The dropdown on the right shows all available policy types, such as periodic password expiration. The complete reference of options is available in the official documentation of Keycloak.
The following image illustrates a sample configuration: the password cannot match the username, must contain at least one uppercase and one lowercase letter, has a minimum length of 10 characters, and expires every 180 days.
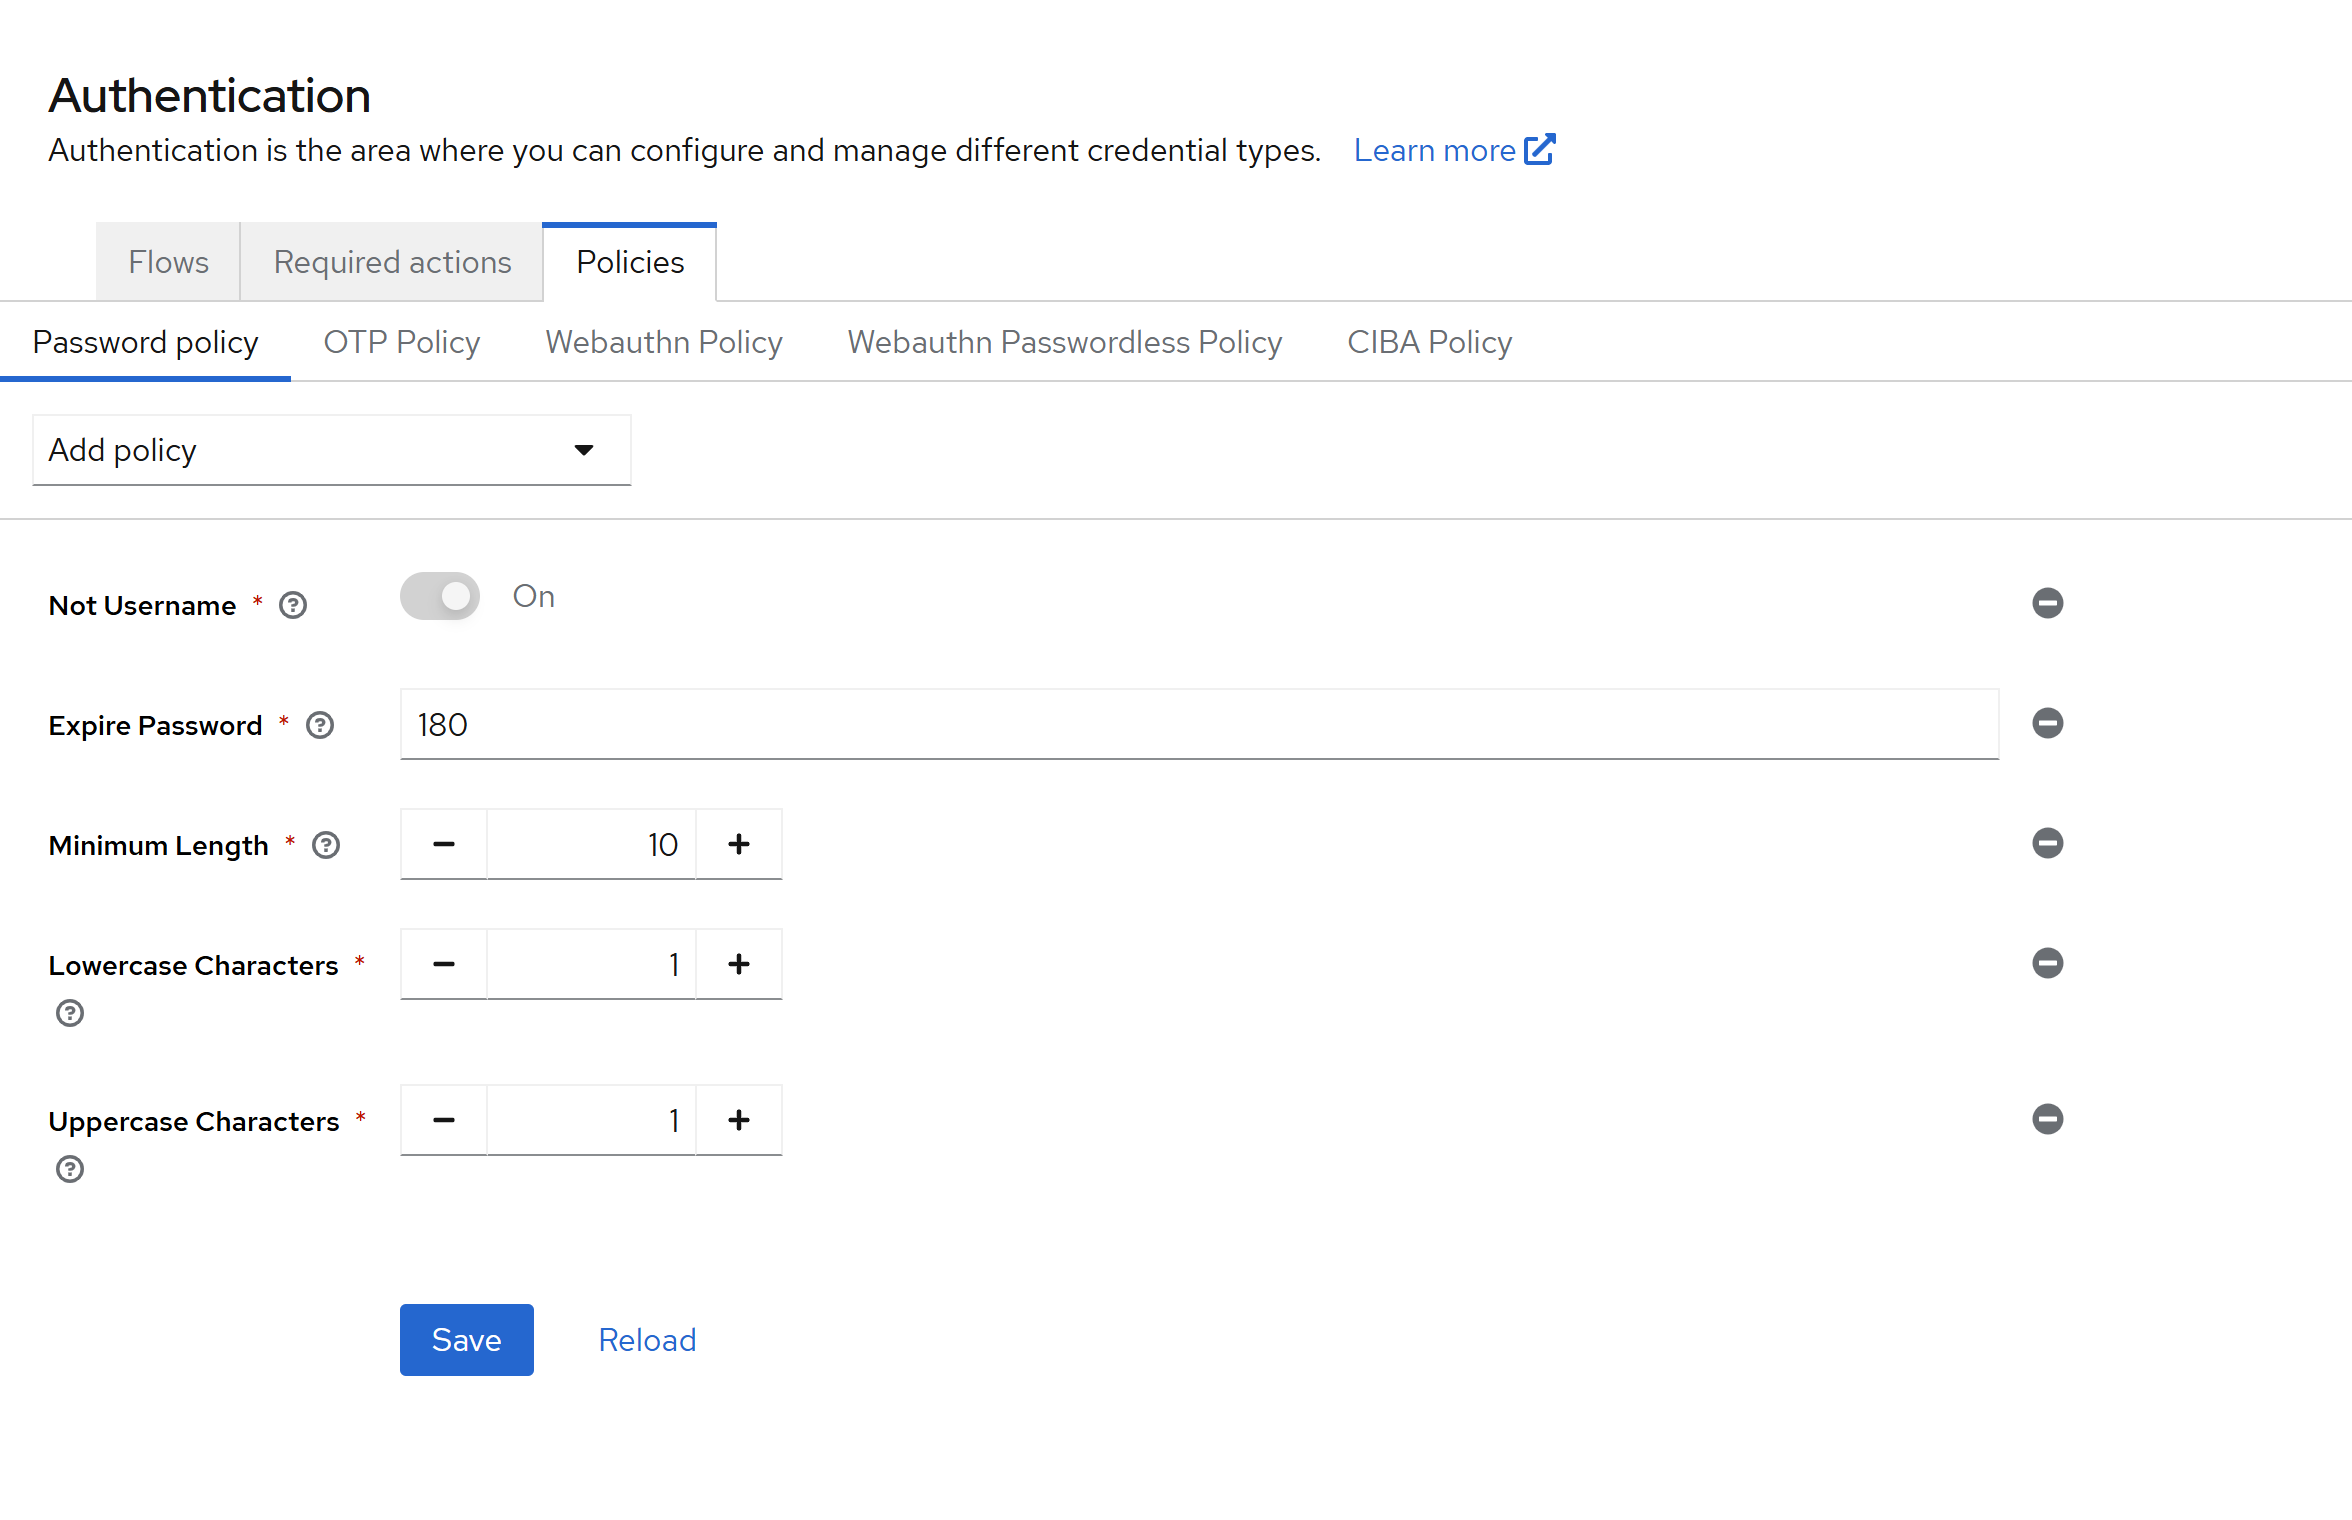 Figure 3.6: Password Policy
Integration with LDAP and Active Directory Services
Many organizations have corporate directories based on LDAP. Keycloak allows federating them with LUCA Accounts so that corporate users can authenticate directly with their usual credentials.
To configure the integration, access User Federation in the side menu and select the Add LDAP Provider option in the central panel.
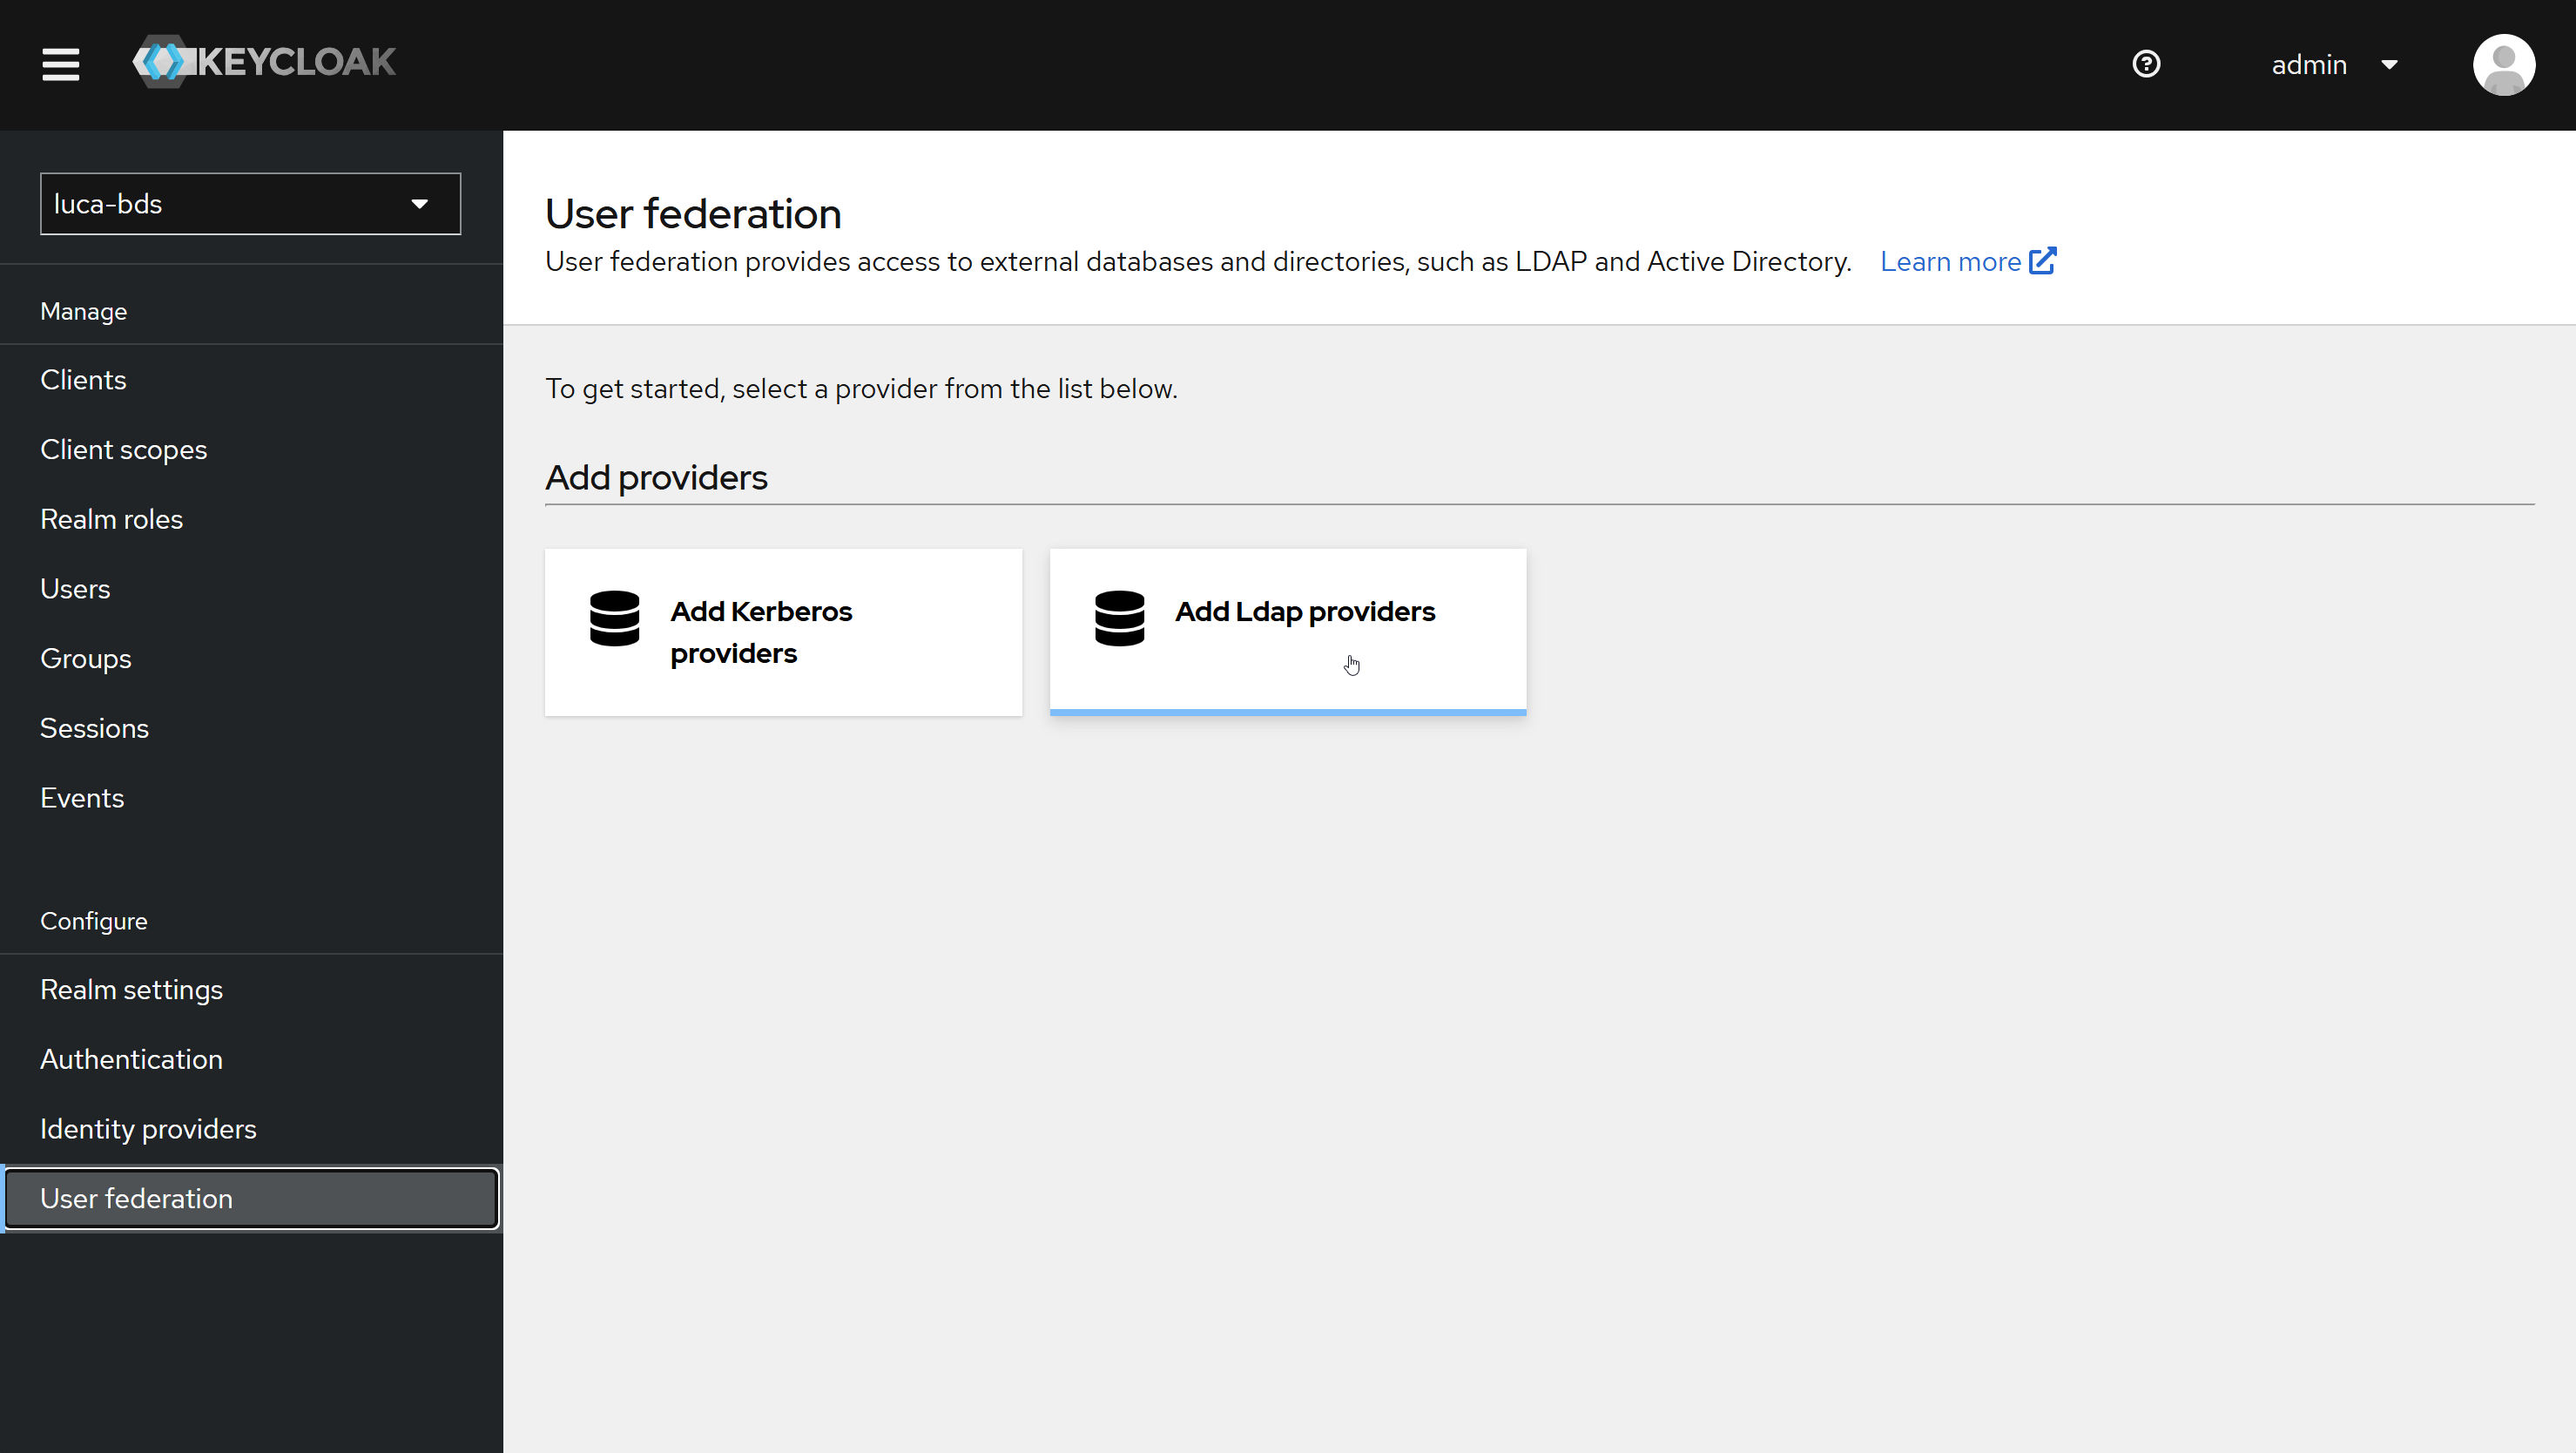 Figure 3.7: LDAP Integration
The form requests the connection parameters for LDAP: connection string, attribute used as username, integration credentials, etc. Each field has a contextual help icon that describes its purpose when hovering the cursor over it.
After completing the form, save the changes using the Save button at the bottom of the page.
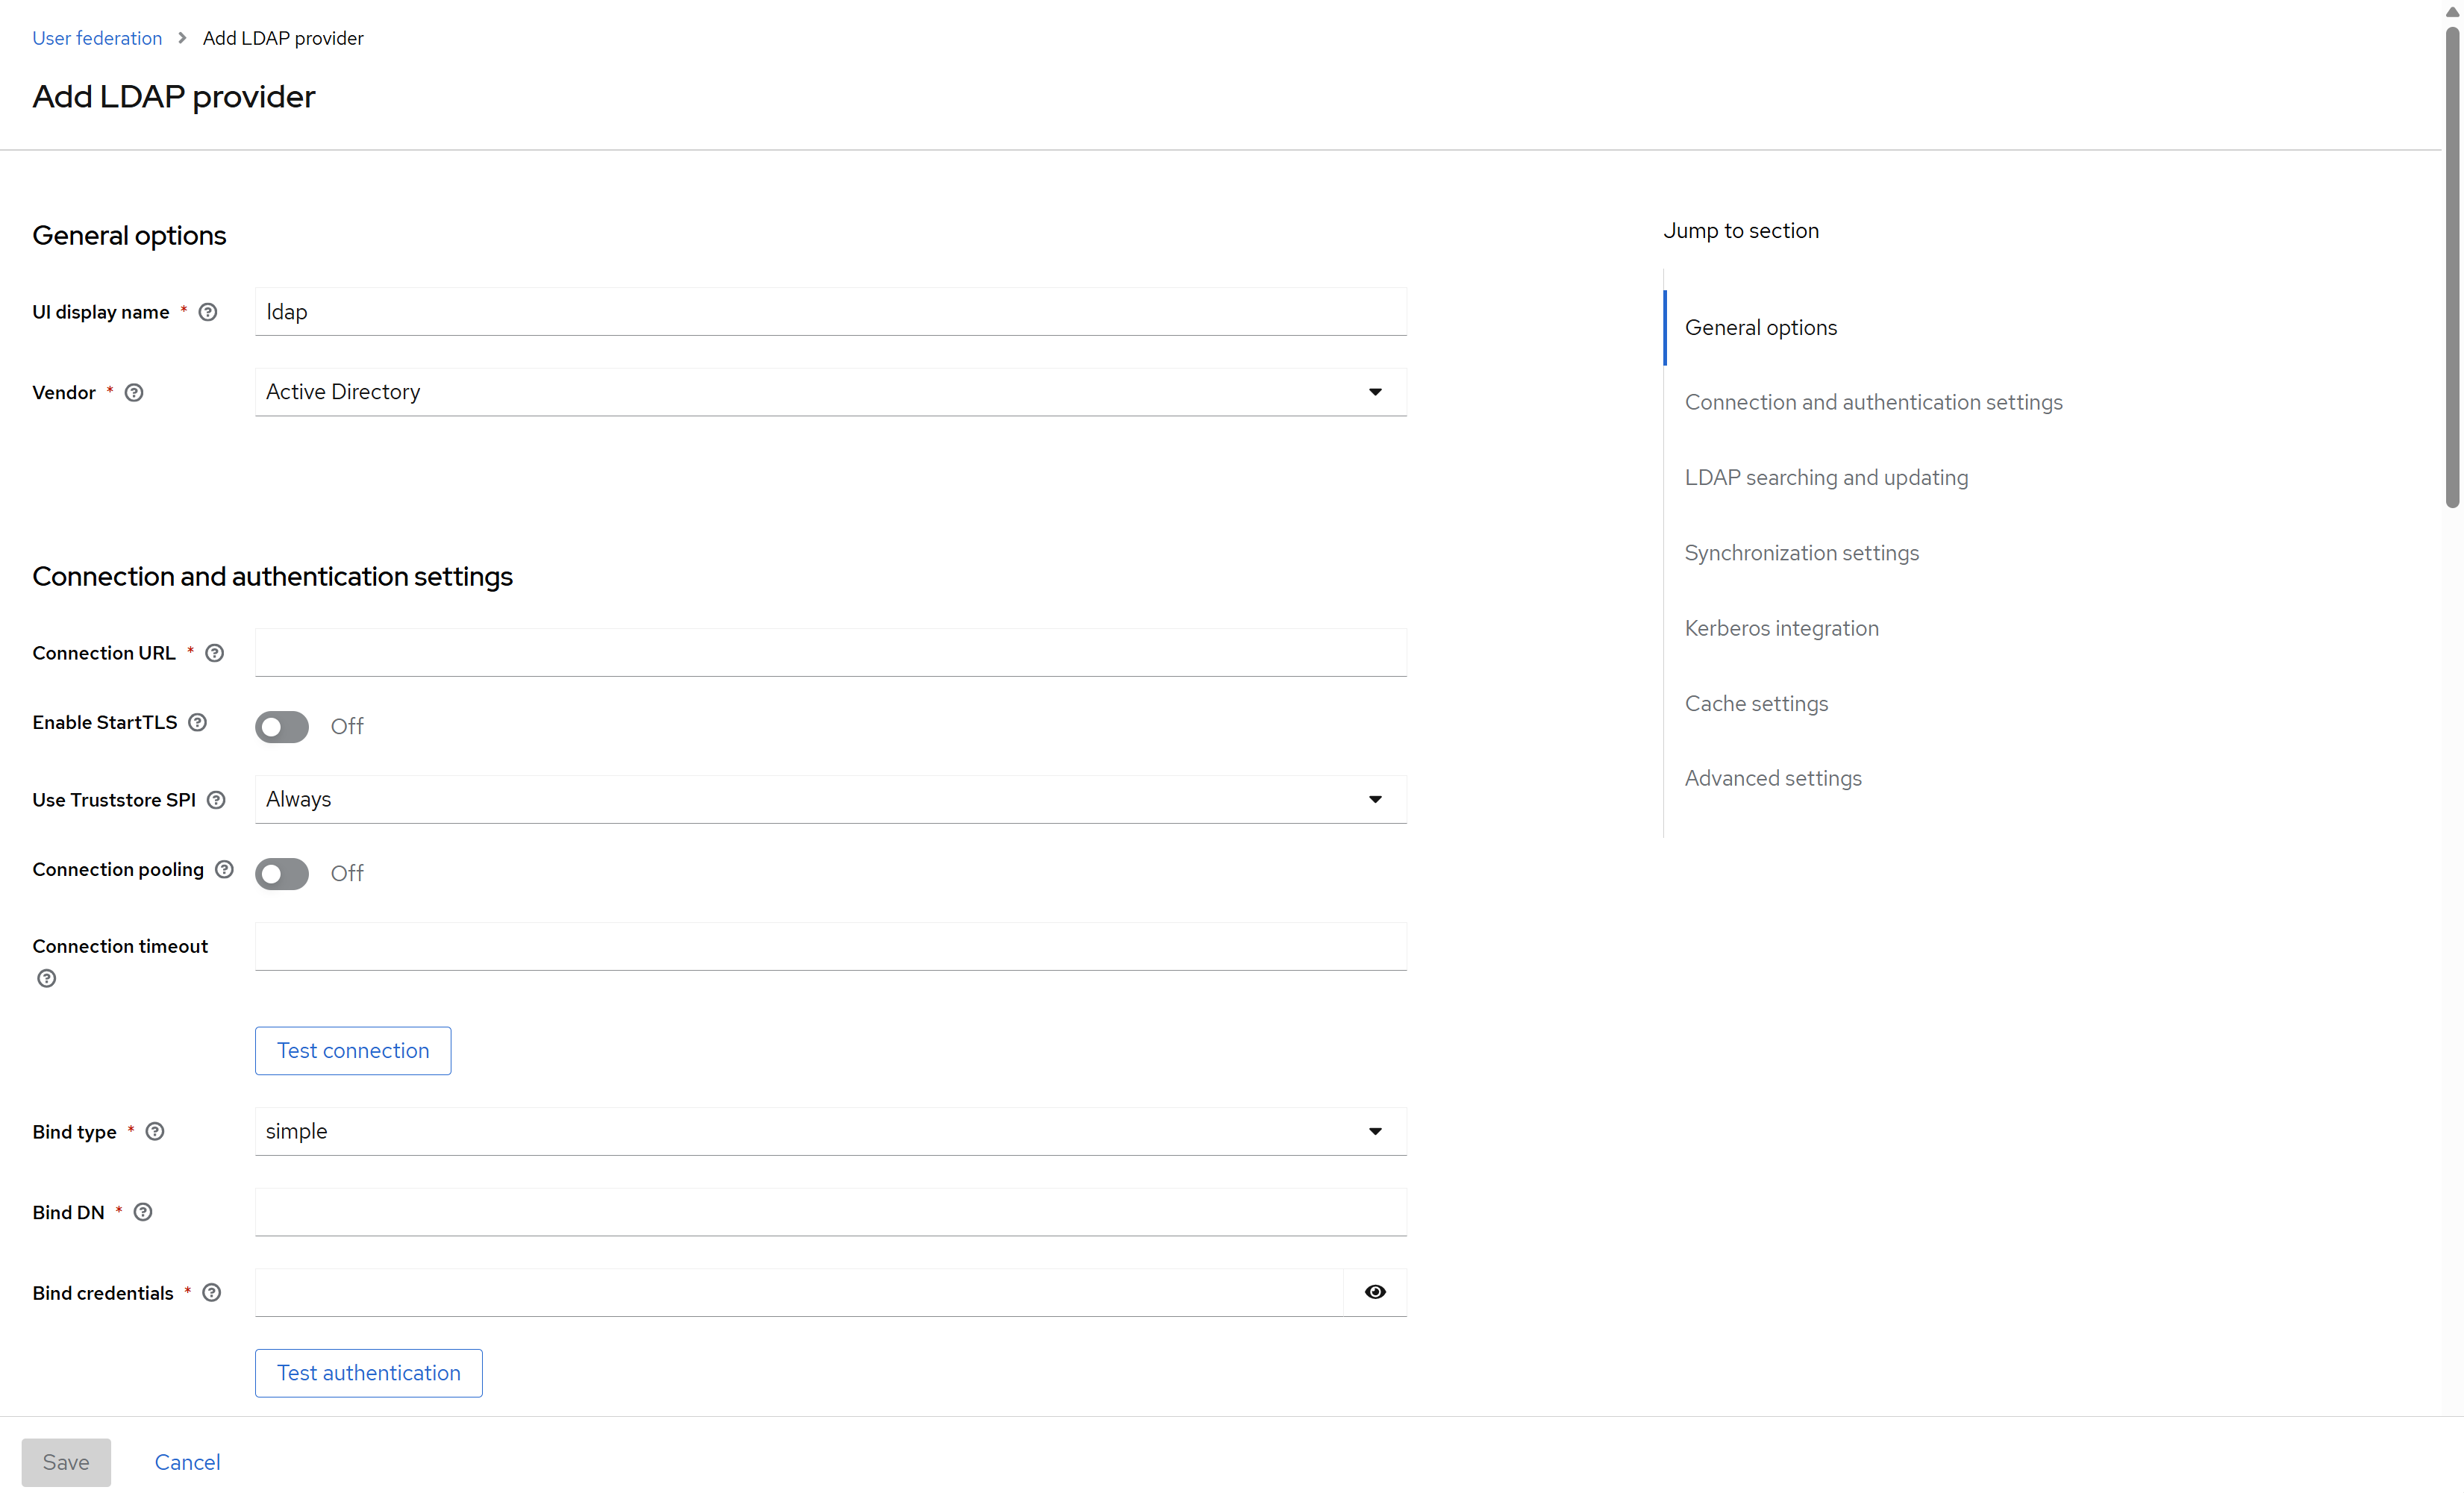 Figure 3.8: LDAP Integration Form