4. Import - Export
The import and export functionality allows you to save product configurations and elements to your device for reuse, as well as load resources that were previously exported.
To activate this functionality, it is necessary to access the Settings panel > Administration > Roles and enable the Export and import elements permission within the Administration tab, as shown in the image.
Only a user with administrator access, with all permissions enabled, can carry out import and export processes.
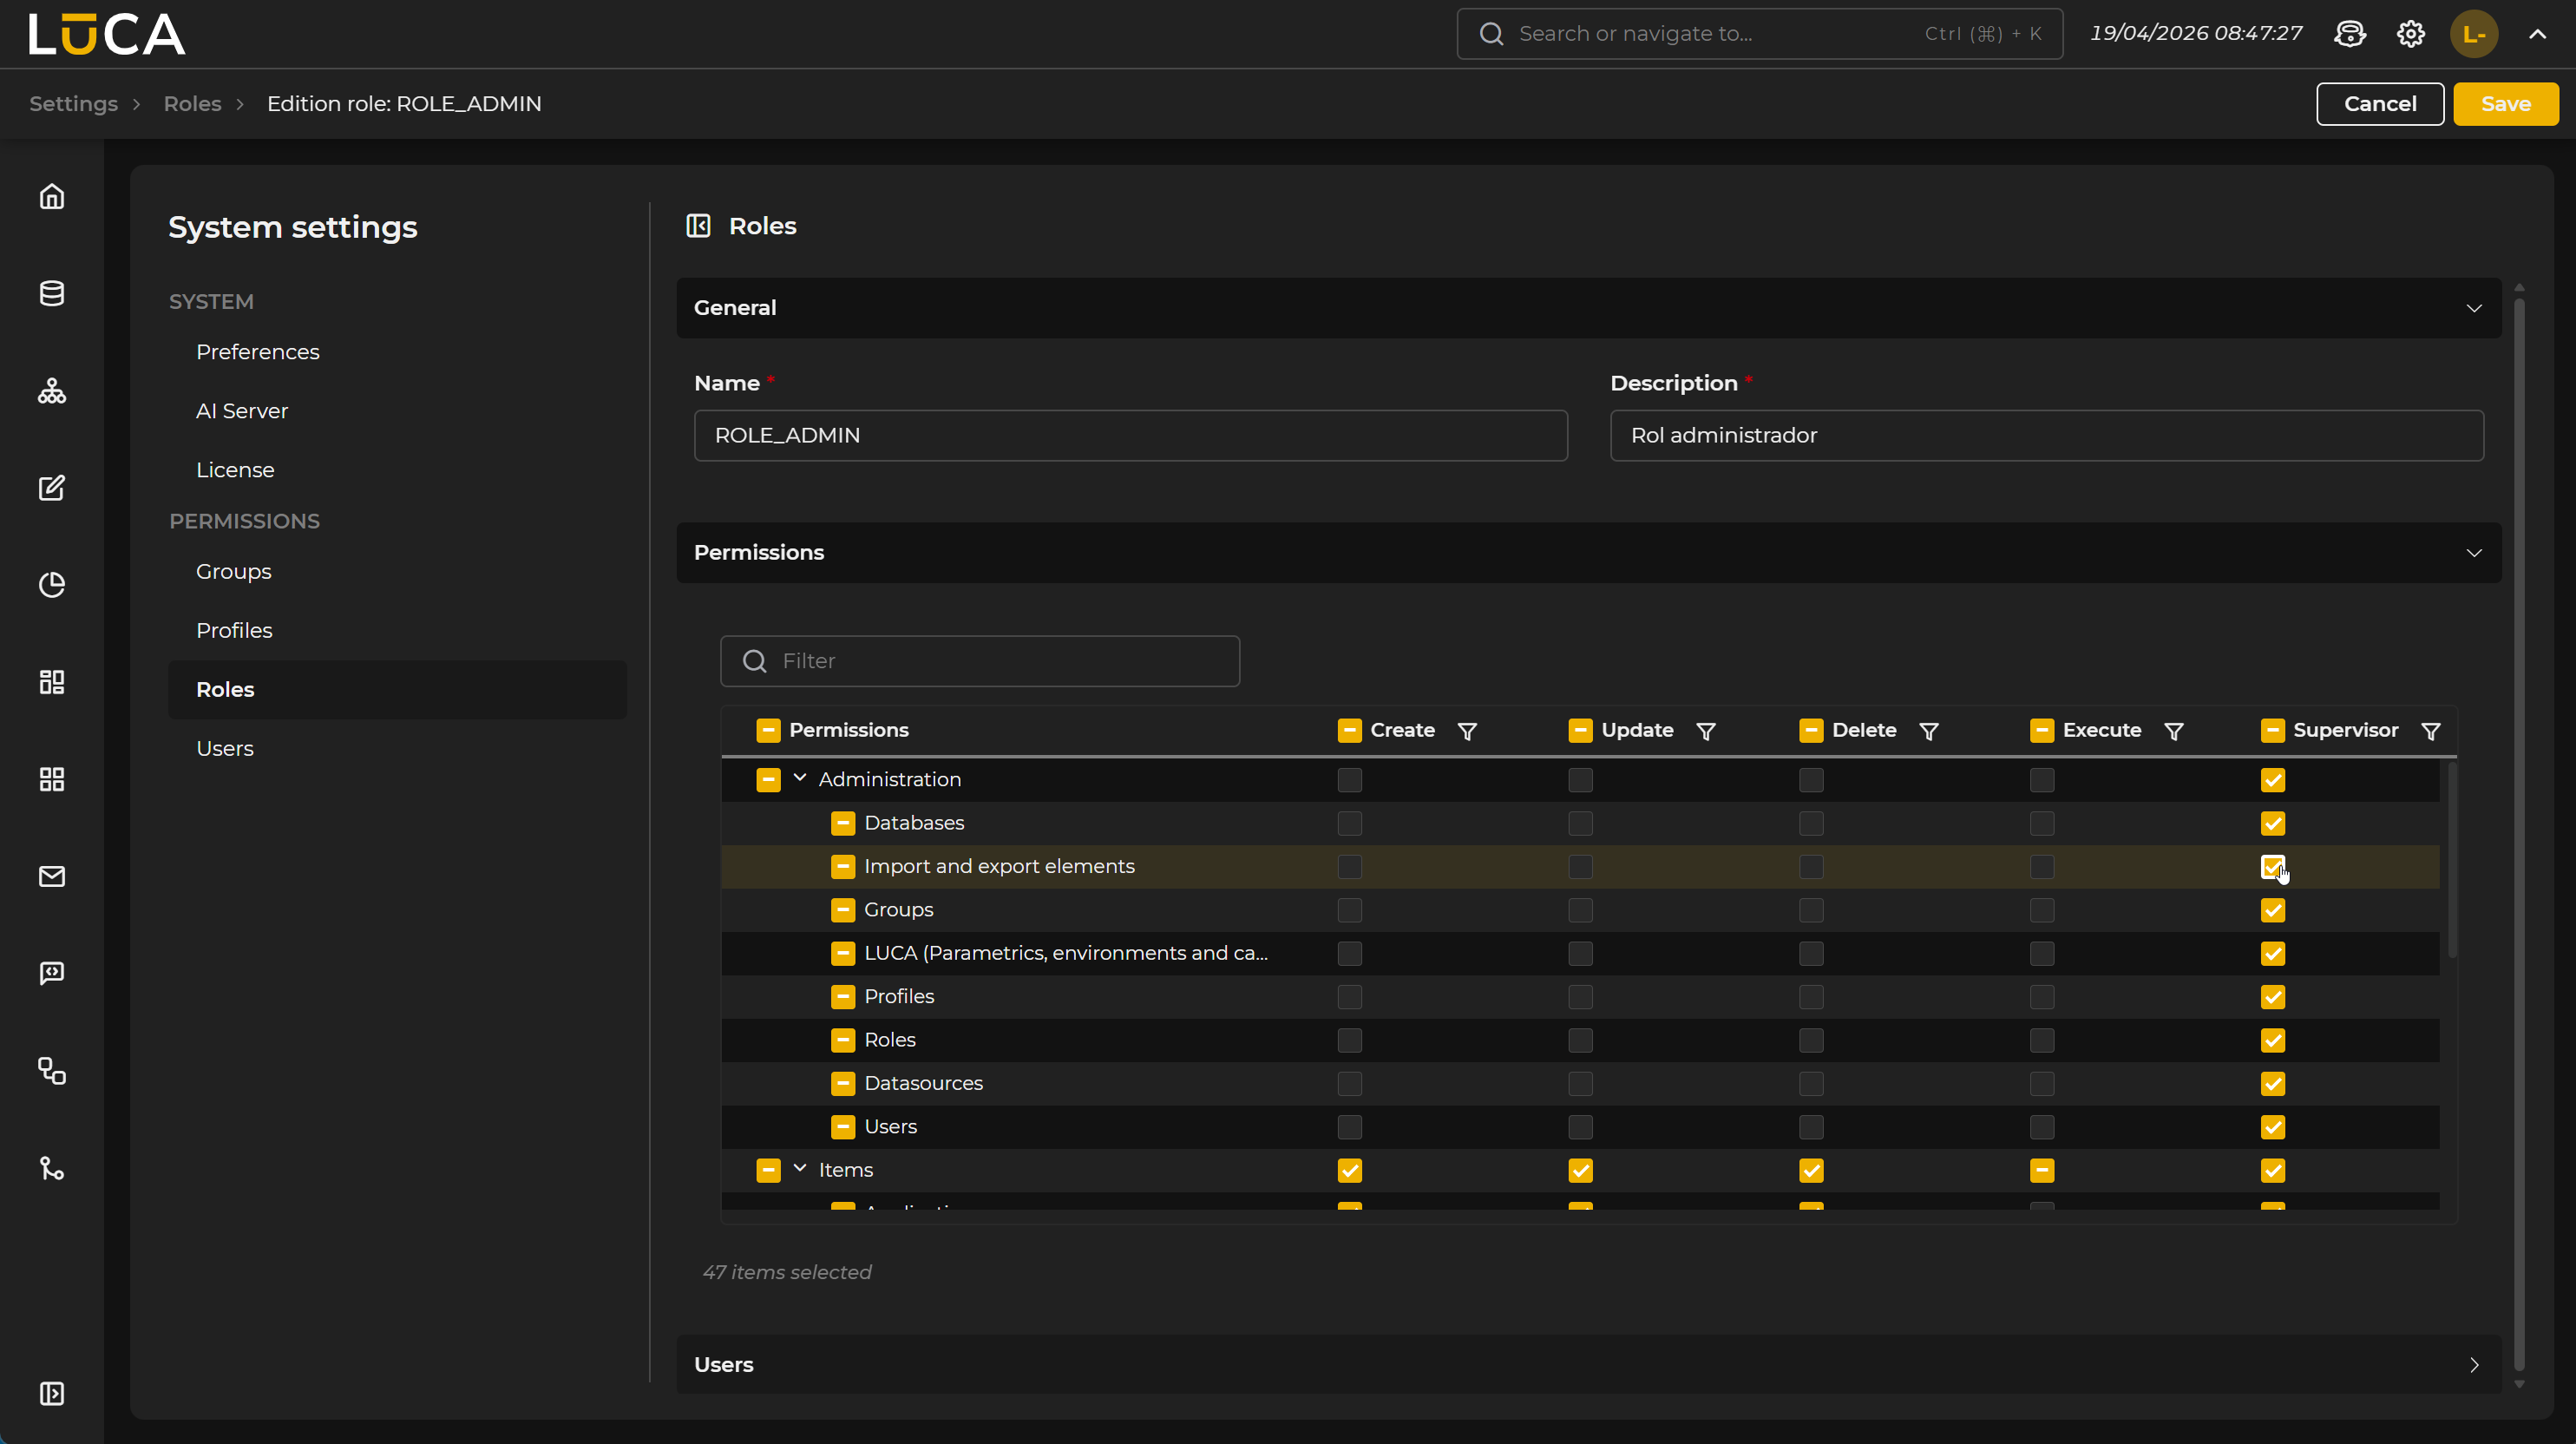 Figure 4.1: New administration permission
For the import-export process to take place, the involved LUCA applications must belong to the same version (it may work if no elements are used that do not exist in both) and must be carried out on the same element.
The import and export functionality is available in the following modules: Queries, Trees, Forms, Charts, Dashboards, Applications, Mailing, and Datasources.
To access it, open the Three dots (more options) menu from the administration screen of each module.
Export
To export any of the previously created and configured elements, it is necessary to select it and click on the Export icon. The system will display an informational message indicating that the process may take several minutes to complete. From that moment, LUCA will begin the export of the element. Once completed, the browser will notify that the download is complete.
The exported file will be saved in the downloads folder of the device with the extension .luca, ready to be imported into another environment or instance of LUCA.
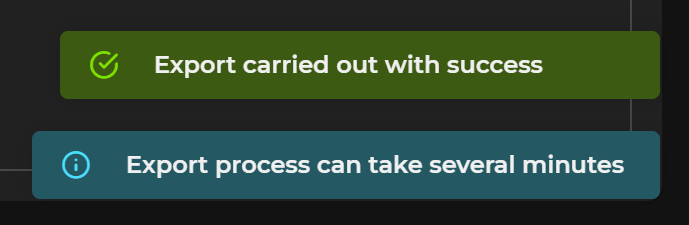
Figure 4.2: Export element
Import
To start the import process, simply click the Import icon, which will open a window where you can select the previously exported file that you wish to incorporate into the system.
In this window, it is necessary to select a group from the upper dropdown, which will display all the available groups at that moment.
The file to be imported can be selected in two ways: by using the file selector of the system or by dragging the file directly into the dotted area designated for this purpose. Once added, a green confirmation icon will appear to the left of the filename, indicating that everything is ready to start the process.
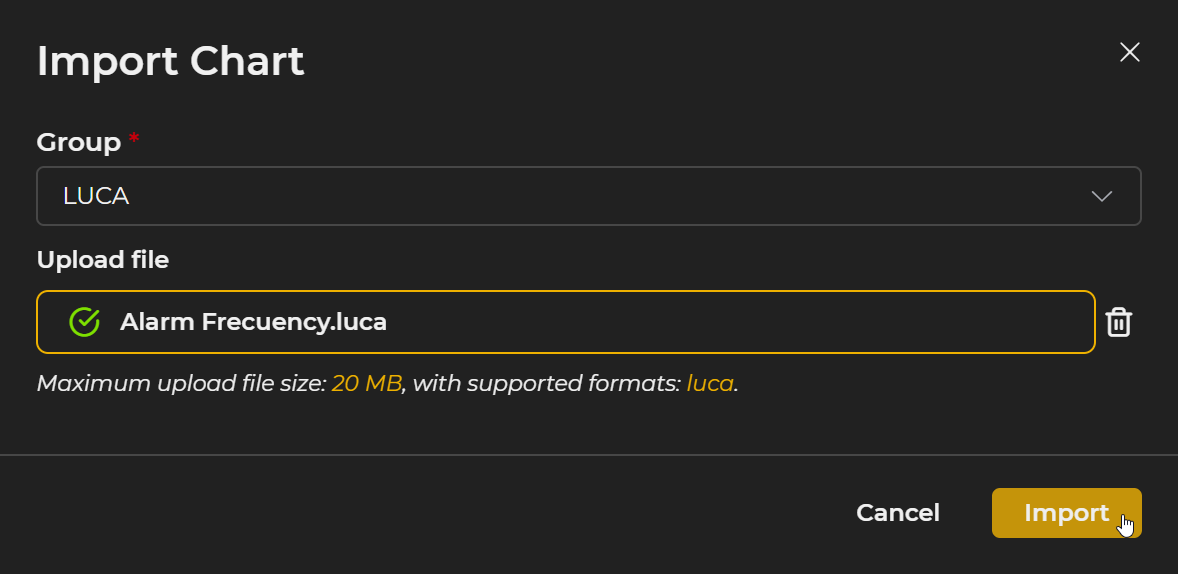
Figure 4.3: Import element
Once the Import button is pressed, the system will again display a message informing that the process may take several minutes. When the import is finished, if the process is completed successfully, a summary window will appear with the result of the operation, detailing all the new Elements created. Additionally, the popup window will offer the possibility to access the imported elements one by one, via a direct link in the summary. If any of the elements require additional configuration, such as in the case of datasources, this requirement will be clearly indicated in the same popup window.
When importing an element into LUCA, all the components that are part of it are automatically incorporated.
During this process, the system checks for the prior existence of the elements included in the import file.
If any of them is already present in the environment, it will not be duplicated and this circumstance will be notified through an informational message.
If an element with a matching name is found but with a different configuration, LUCA will proceed to create a new version of it, automatically renaming it in the format: name(1).
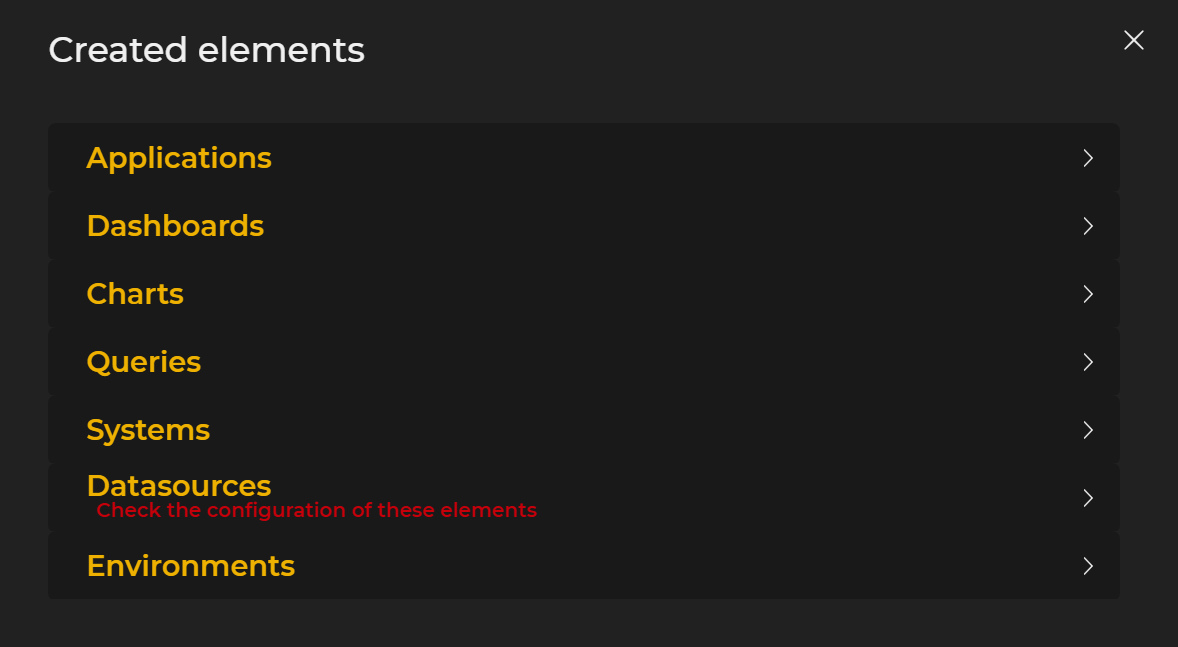
Figure 4.4: Summary window
Elements such as datasources, for logical reasons, or dashboards require subsequent configuration. It is necessary to access them individually from the panel shown in the popup window and complete the additional configuration.
The datasources require the configuration of all connection parameters, which vary from one database to another. In the case of dashboards, it is necessary to review each chart and manually configure the input links.