10. Chats
The Chats functionality in LUCA BDS allows users to interact with artificial intelligence models to make inquiries and receive real-time responses.
This section includes conversation management through the chats history and its tools, and configuration of Data Connections.
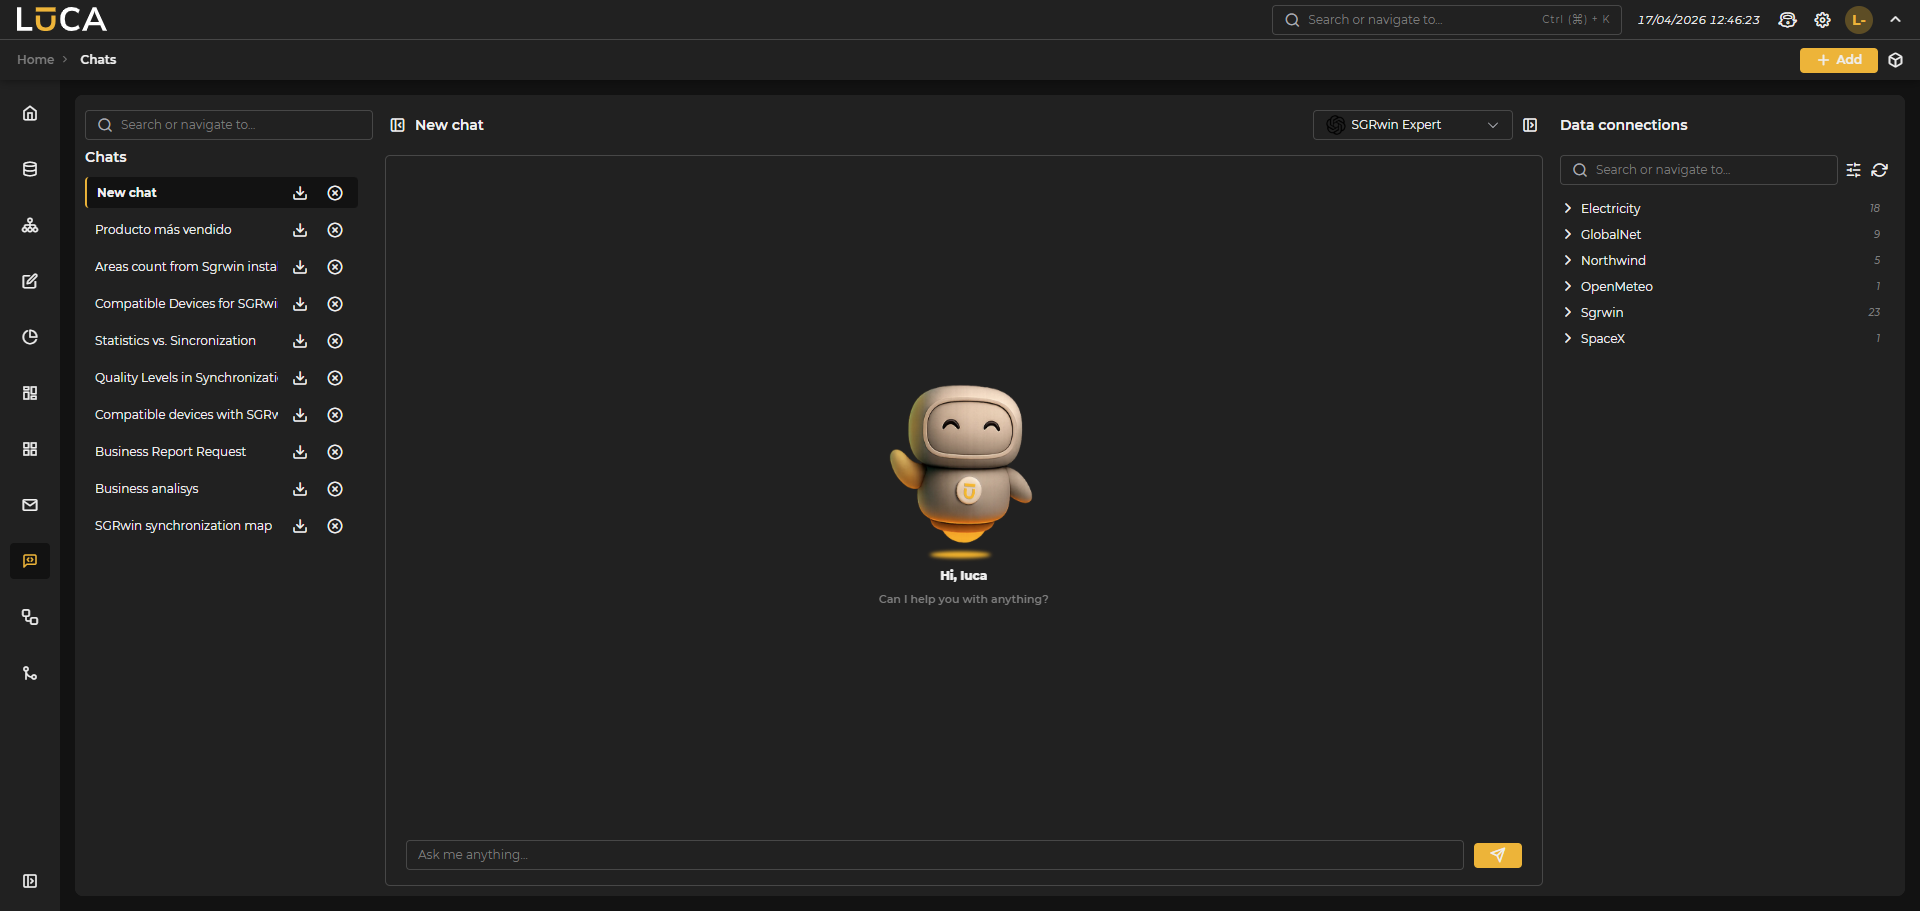 Figure 10.1: Chats Tab
Chats (History)
The chat history keeps a record of all conversations, providing tools to manage and organize interactions with AI models. The title is automatically generated with the first chat interaction.

Figure 10.2: Chat History
Download Chat
By clicking on the download button (1), a copy of the chat is saved in txt format within the computer's downloads folder.
Delete Chat
Next to the download button is the delete button (2), which removes the entire conversation.
Collapse Chat List
To the left of the chat title, in the central panel, we find the collapse button (3) for the chat list. If it is collapsed, it will serve to expand it.
New Chat
The system allows the creation of new chats from different access points to facilitate interaction with models.
- From Chat Tab

Figure 10.3: From Chat
A new chat can be initiated directly from the main Chats tab.
- From Manage Models

Figure 10.4: From Models
It is also possible to create a new chat from the model management section, allowing the selection of a specific model for the conversation. To do this, a model must first be selected from the list.
Context
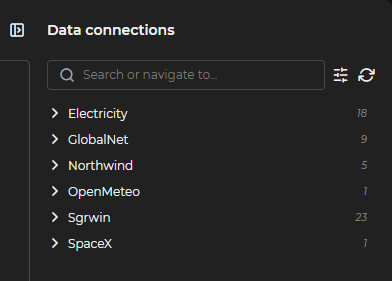
Figure 10.5: Context
The context functionality allows for providing additional information to models to improve the accuracy and relevance of the responses.
Queries
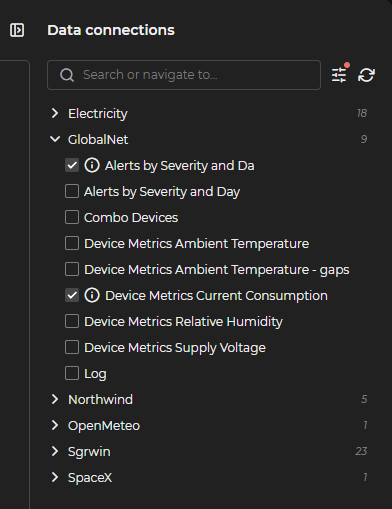
Figure 10.6: Queries
It allows including existing queries as context for the conversation. When expanding the section, all available queries are displayed, listed and grouped. Once selected, a red indicator appears next to the parameters button, indicating that they need to be configured before they can be used as context.
Parameters

Figure 10.7: Parameters
Configuration of specific parameters for queries. These are the input parameter values for the queries and a maximum query size.
 Figure 10.8: Parameters Configuration
Once the parameters for the selected queries have been configured, the Confirm button is pressed. If the configuration is correct, an orange verification icon appears next to each query, indicating that they are ready to be used as context.
Search Tool

Figure 10.9: Search
Search tool to locate specific elements within the available context.
Refresh

Figure 10.10: Refresh
Function to update the context with more recent information. It removes previous selections and parameter configurations and retrieves the latest changes in the stored queries.
Ask
 Figure 10.11: Ask
Main functionality that allows making inquiries to AI models and obtaining responses based on the provided context and the capabilities of the selected model. The model selector allows, through a dropdown, to choose which of the created models to make the inquiry.
Manage Models
Model management is also accessible directly from the Manage Models button within the Chats section. For full documentation on model configuration, see the Models section.