8. Applications
Applications allow for the consolidation of queries, trees, forms, charts, and dashboards related to the same business domain in a single location, facilitating access to final reports for different areas: production, finance, etc.
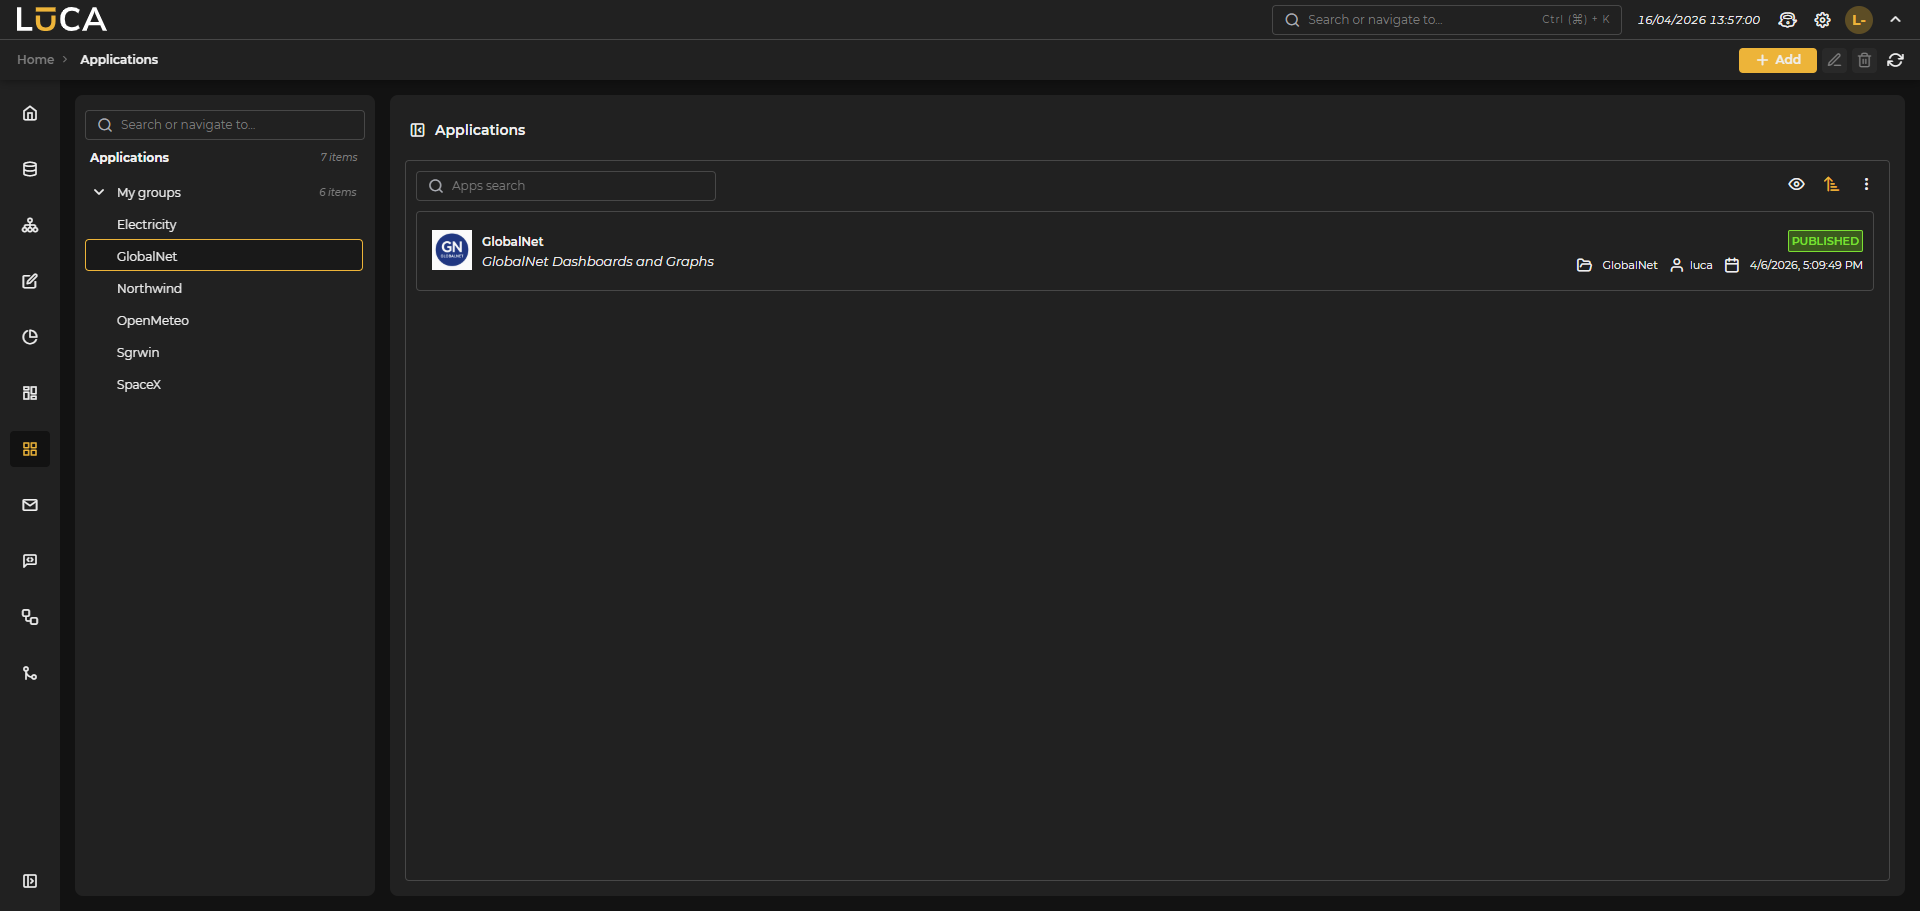 Figure 8.1: Application Management
For more information on the general administration screen, see this section.
Creating and Editing Applications
The application creation view presents the following structure:
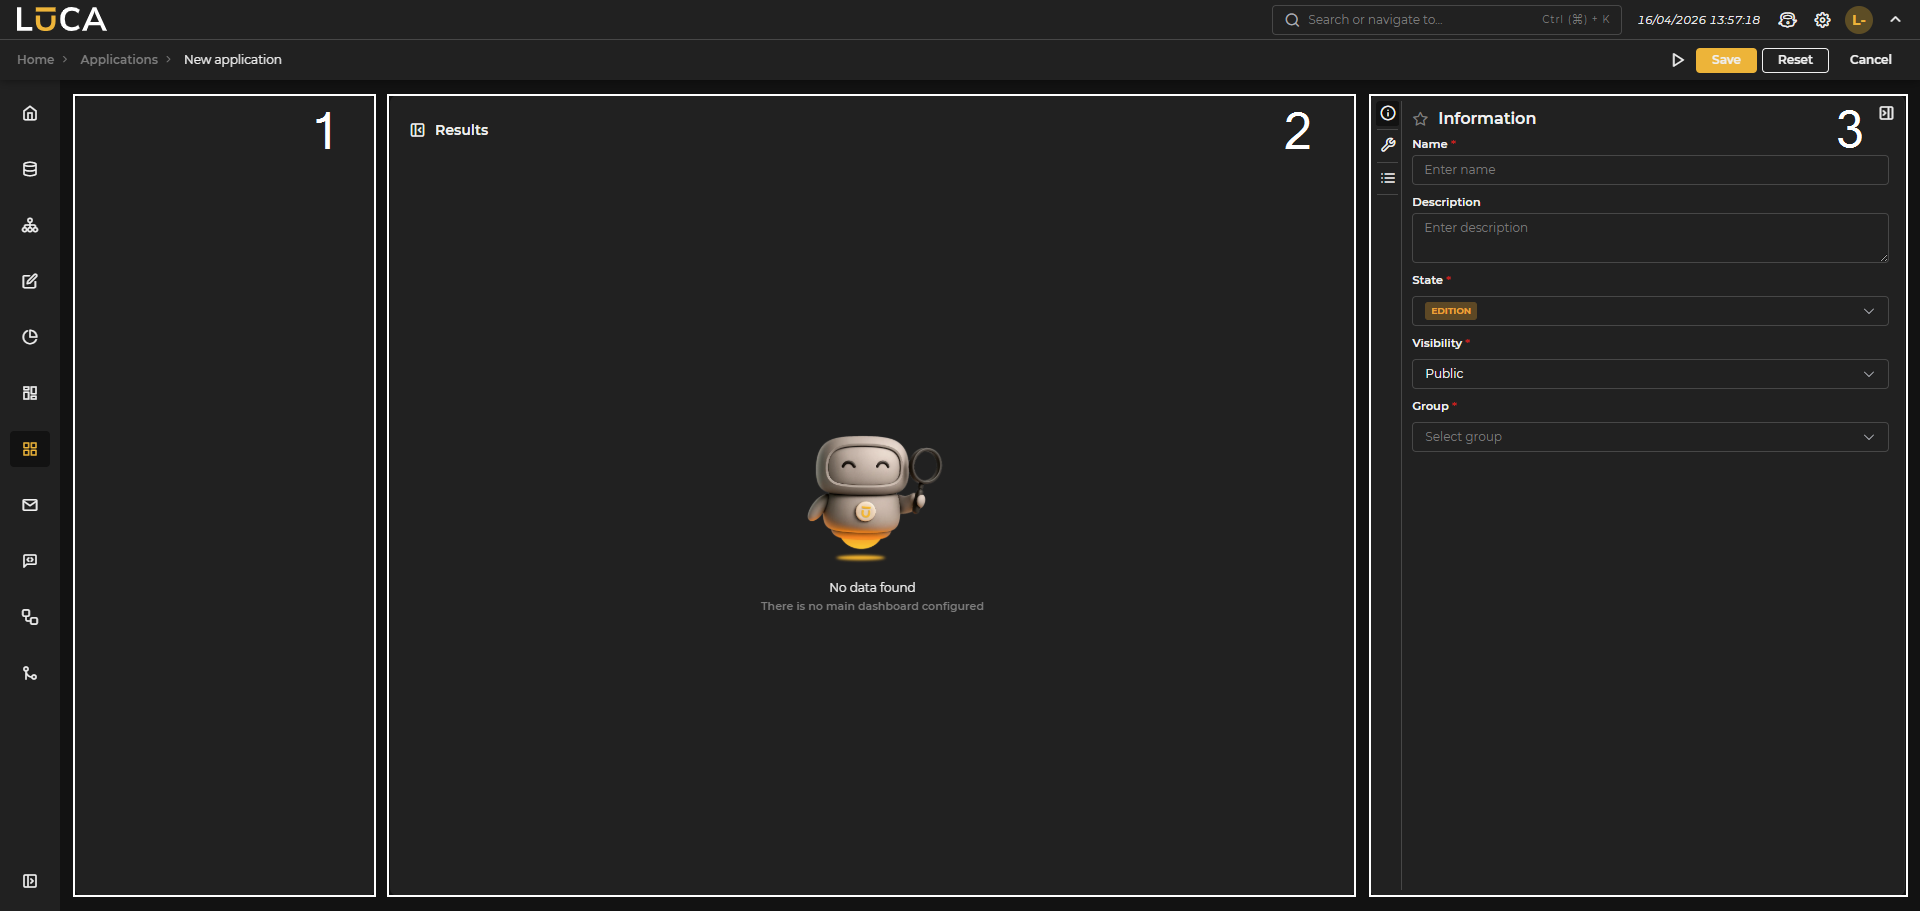 Figure 8.2: Application Creation
Menu (1): Preview of the application menu. It appears when the first element is configured.
Main Dashboard (2): Preview of the main dashboard or the contents of the menus.
Settings (3): Configuration section as in the other elements of LUCA.
In the configuration section, we find the following buttons:
- Run: Saves and executes the query.
- Save: Saves the query information.
- Reset: Clears the data entered in the form.
- Cancel: Closes the editor and returns to the query administration screen.
Information
This configuration is shared among all the LUCA elements, for more information go to Information tab.
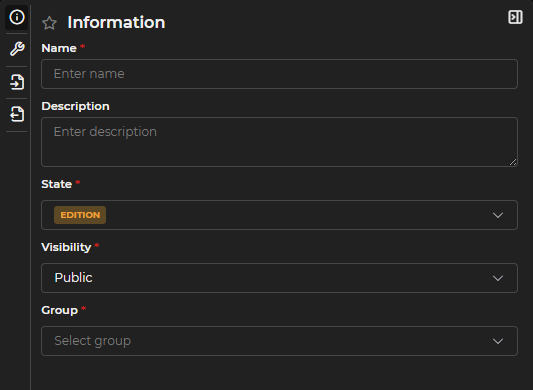
Figure 8.3: Information Form
Configuration
In this menu, the following options can be configured:
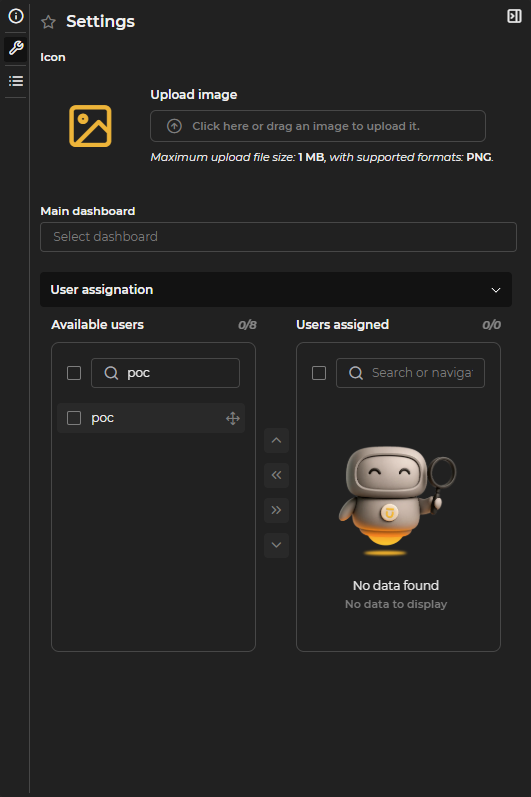
Figure 8.4: Application Configuration
Icon: Allows choosing an icon for the application. To select it, you can click on the Upload Image field to open the file explorer, or drag an image directly into that field. To delete it, once selected, a Delete button appears on the right. The icon must be in PNG format and not exceed 1 MB in size.
Main Dashboard: The first dashboard that loads when entering the application. You can choose one of the already created dashboards from the dropdown list. To remove the assigned dashboard, click the Delete button next to the field. The arrow button opens the dashboard in edit mode in a separate window.
User Assignment: Determines which users can view the application. To assign users, select the desired ones and click the right-pointing arrow, or drag them directly into the assigned users field. The search bar allows for quicker user discovery. You can assign the application to all users by checking the box on the right of the search bar. To remove the assignment, use the left-pointing arrow or drag it back to the available users field. Although the assignment can be made from this menu, it is advisable to use profiles to determine user access and visibility.
Menus
This is where the different menus and submenus of the application are created. To do this, click New Menu as many times as necessary to create the desired number of menus. A menu consists of a name and one or more submenus.

Figure 8.5: Menu Creation
The submenus consist of the following elements:
- Name: name of the submenu.
- Type: type of the element that will be contained in the submenu, which can be any of the following: Query, Tree, Form, Chart, or Dashboard.
- Element: element that will be displayed in the submenu.
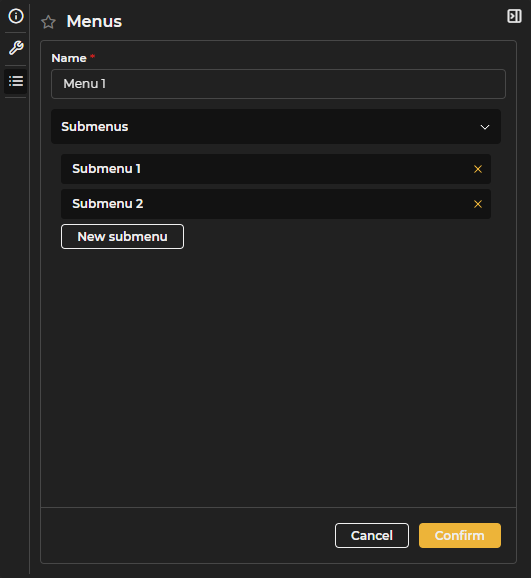
Figure 8.6: Submenu Creation
Executing an Application
As with other elements, the Run button located in the upper right corner allows you to launch the application. The view is a faithful representation of what the end user with granted access will see. You can navigate through the menus viewing the previously configured elements.
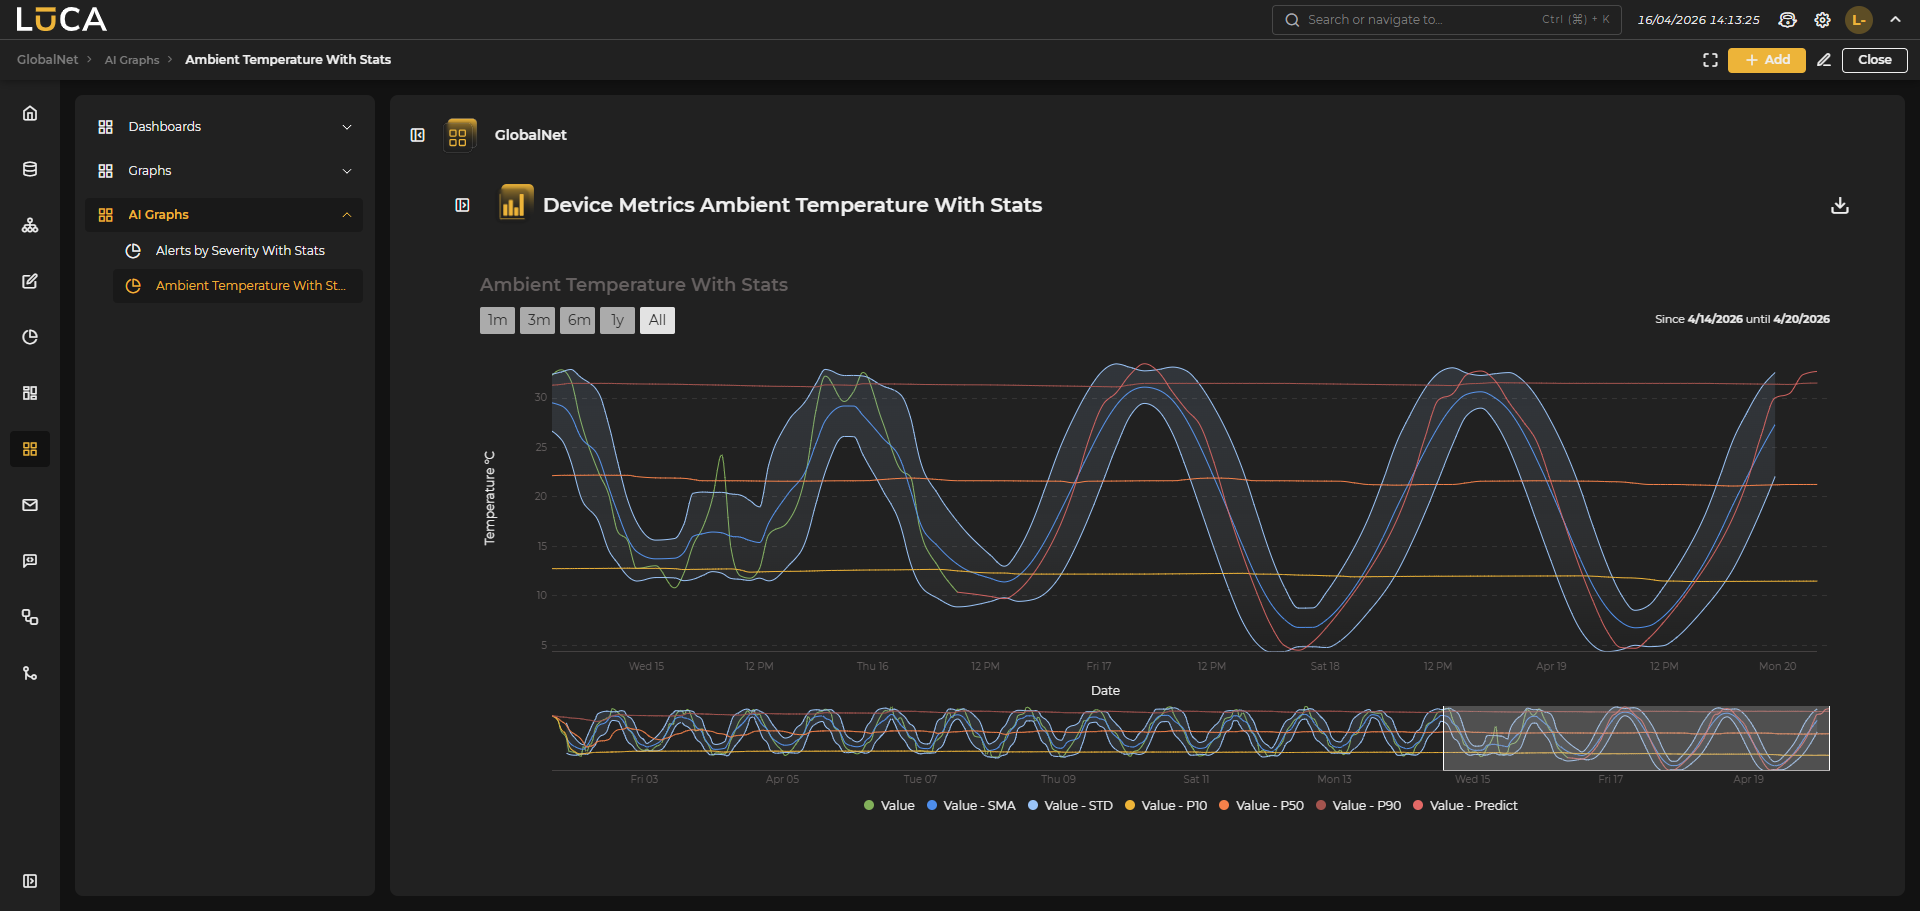 Figure 8.7: Application Execution